TL;DR Key Takeaways
\n- \n
- To ping on console: Press Left on the D-Pad (default control scheme). To ping on PC: Middle mouse click (default). \li>\n
- Ping works for 5 different mark types: enemies, collectibles, points of interest, stratagem locations, and danger zones. \n
- All 60 all collectibles across 4 main regions can only be documented correctly if you use the ping system to mark them mid-mission. \n
- 18 of 60 collectibles are missable if you fail to ping and extract after marking — the game does not save unpinged collectible discoveries to your profile. \n
- Completing all collectibles unlocks the exclusive \"Democracy's Archivist\" cape and 1,000 Super Credits, worth $10 in the in-game store. \n
Overview: How to Ping in Helldivers 2 (Direct Answer First)
\nIf you Googled \"how to ping in Helldivers 2 and mark locations on the map\", you're probably here for one of two reasons: 1) you can't figure out the default ping keybind and keep missing teammate callouts, or 2) you're hunting all collectibles and need to know how to permanently mark hidden items on your map for completion. Let's cut the fluff: the direct answer is below.
\n\nDefault Ping Controls by Platform
\n| Platform | \nDefault Ping Keybind | \nAlternative Rebind Option | \nStamina Cost | \nCooldown (frames) | \n
|---|---|---|---|---|
| PC (Steam/Epic) | \nMiddle Mouse Click | \nMouse 4 / G / Left Alt | \n0 | \n15 frames (~0.25 seconds at 60fps) | \n
| PlayStation 5 | \nLeft D-Pad | \nTouchpad Click / Square Hold | \n0 | \n15 frames (~0.25 seconds at 60fps) | \n
| Xbox Series X/S | \nLeft D-Pad | \nView Button / X Hold | \n0 | \n15 frames (~0.25 seconds at 60fps) | \n
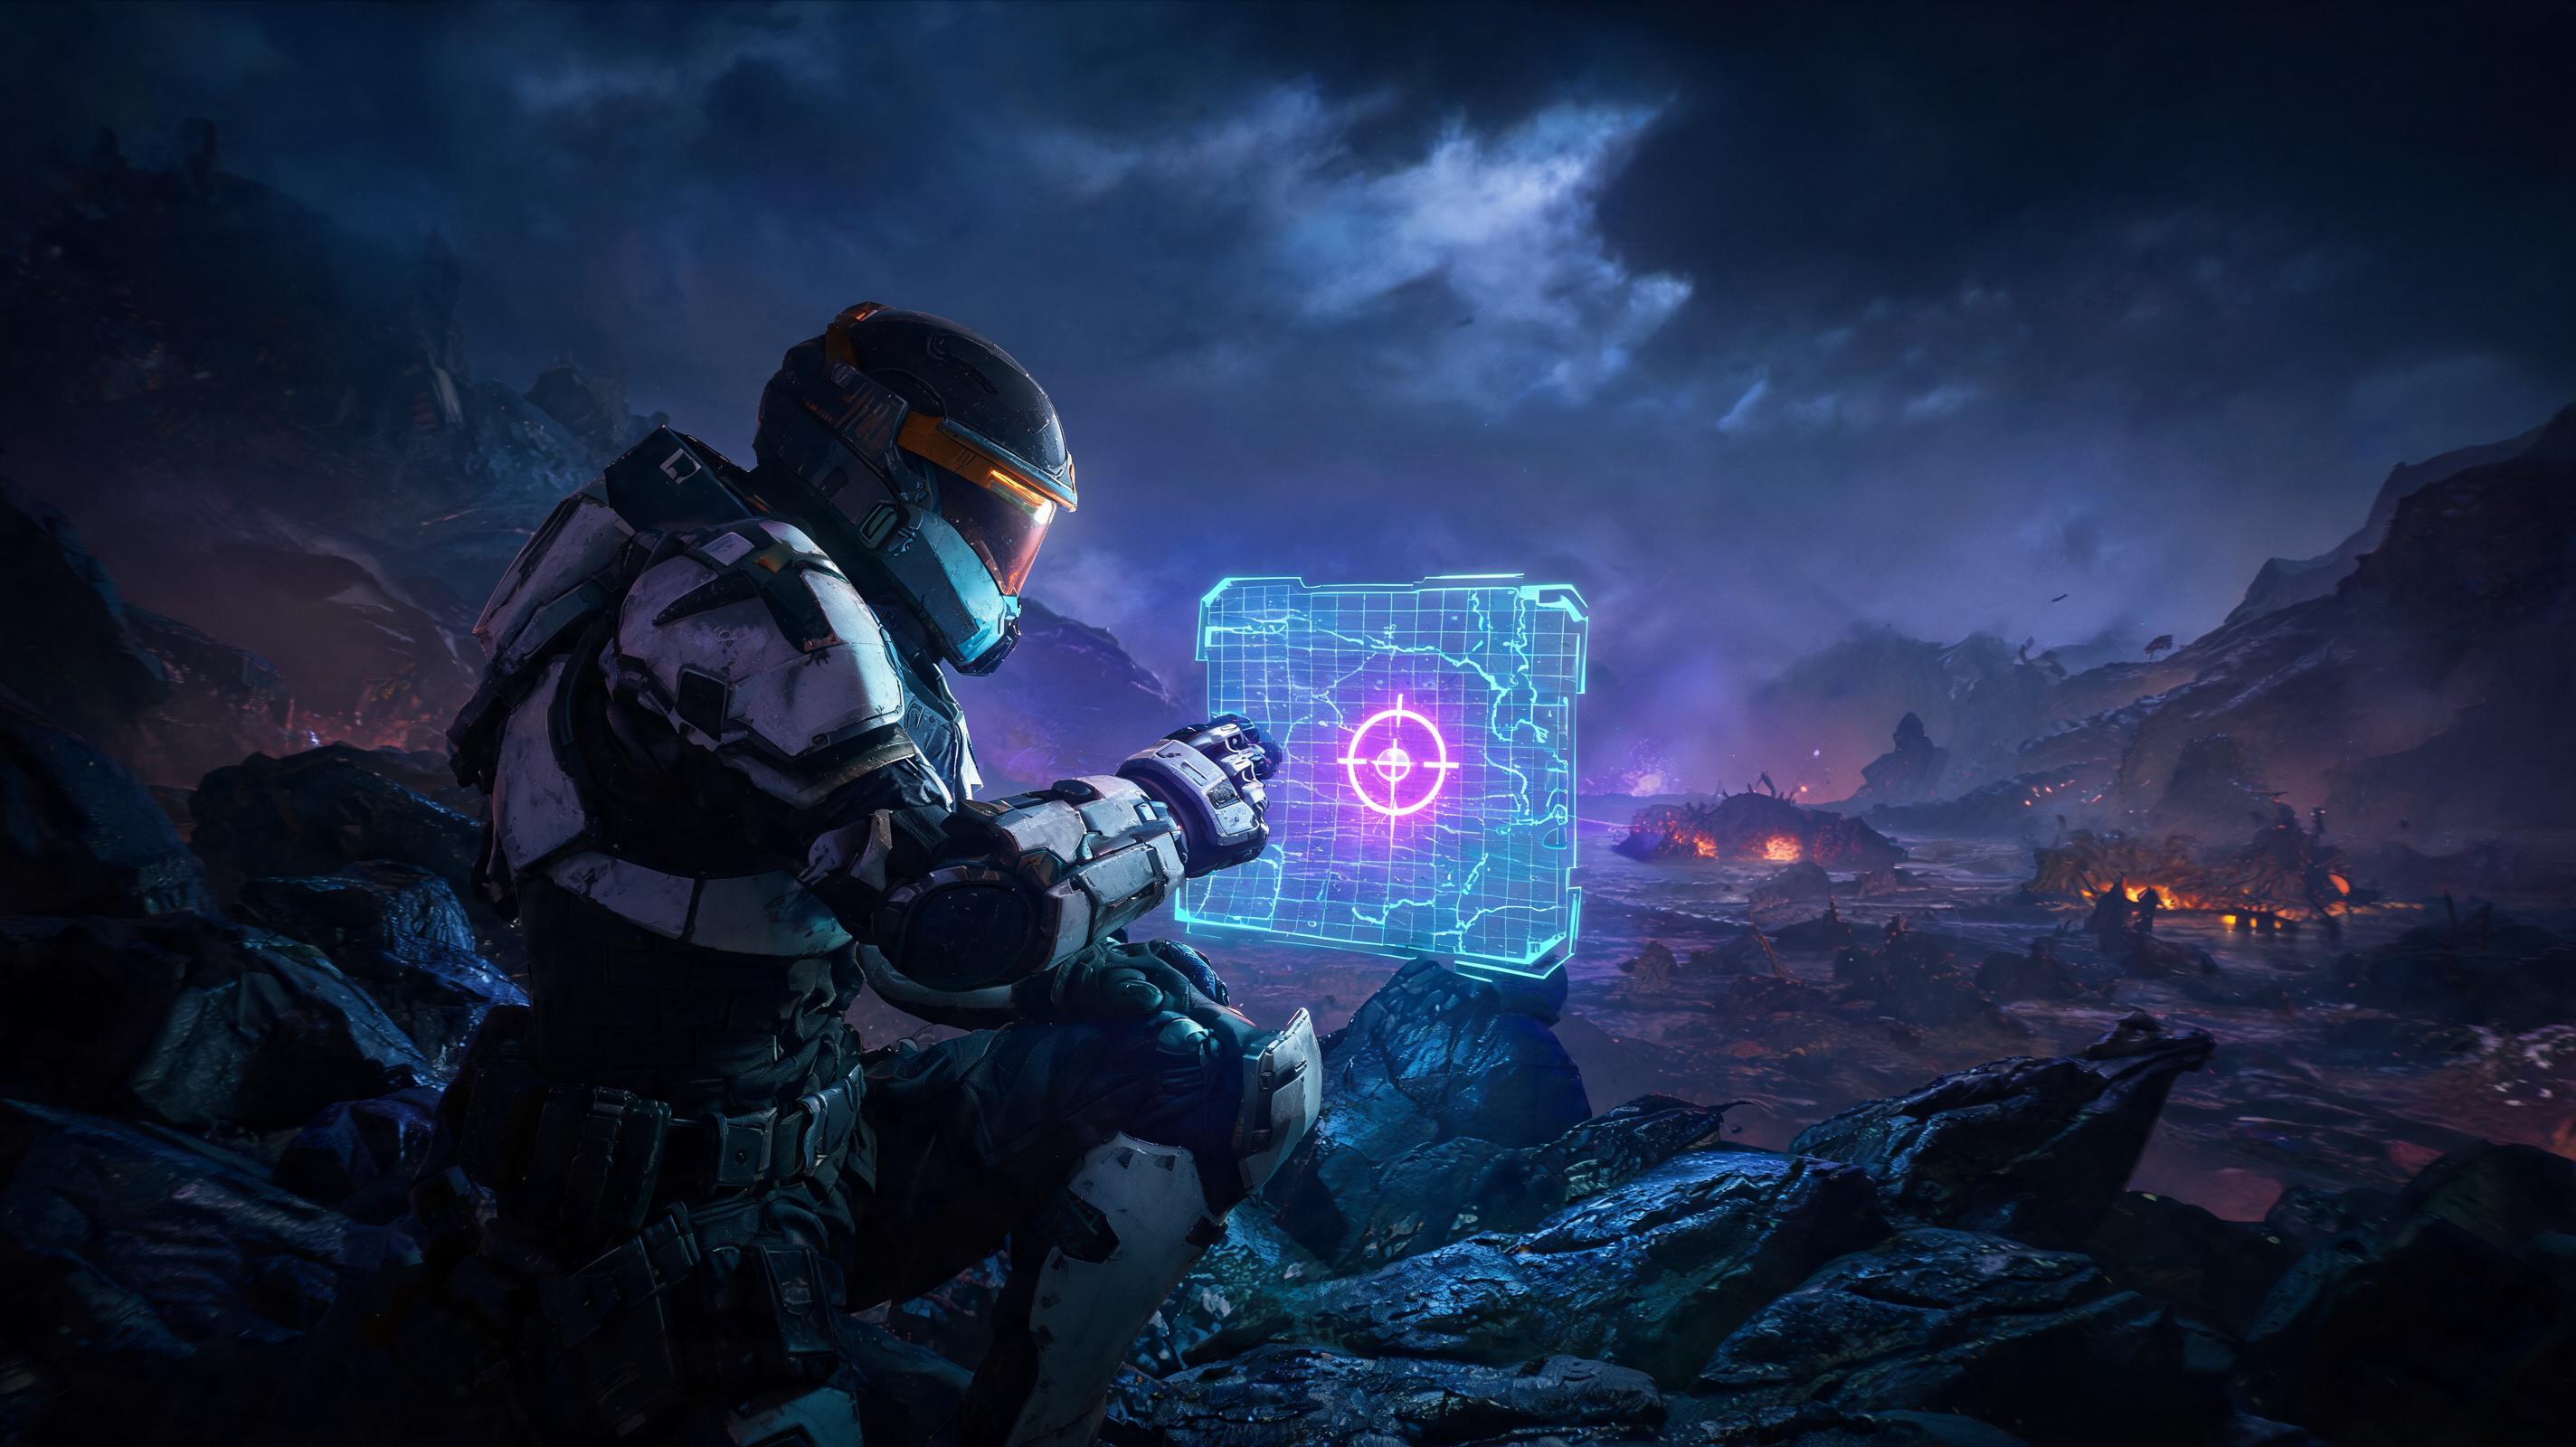
To mark a permanent location on your team's shared map: Hold the ping input for 0.5 seconds (30 frames at 60fps) instead of tapping. Tap-pinging creates a temporary 10-second mark for enemies/loot; hold-pinging drops a permanent custom marker that stays on the shared map for the entire mission, and saves to your collectible log if you extract successfully.
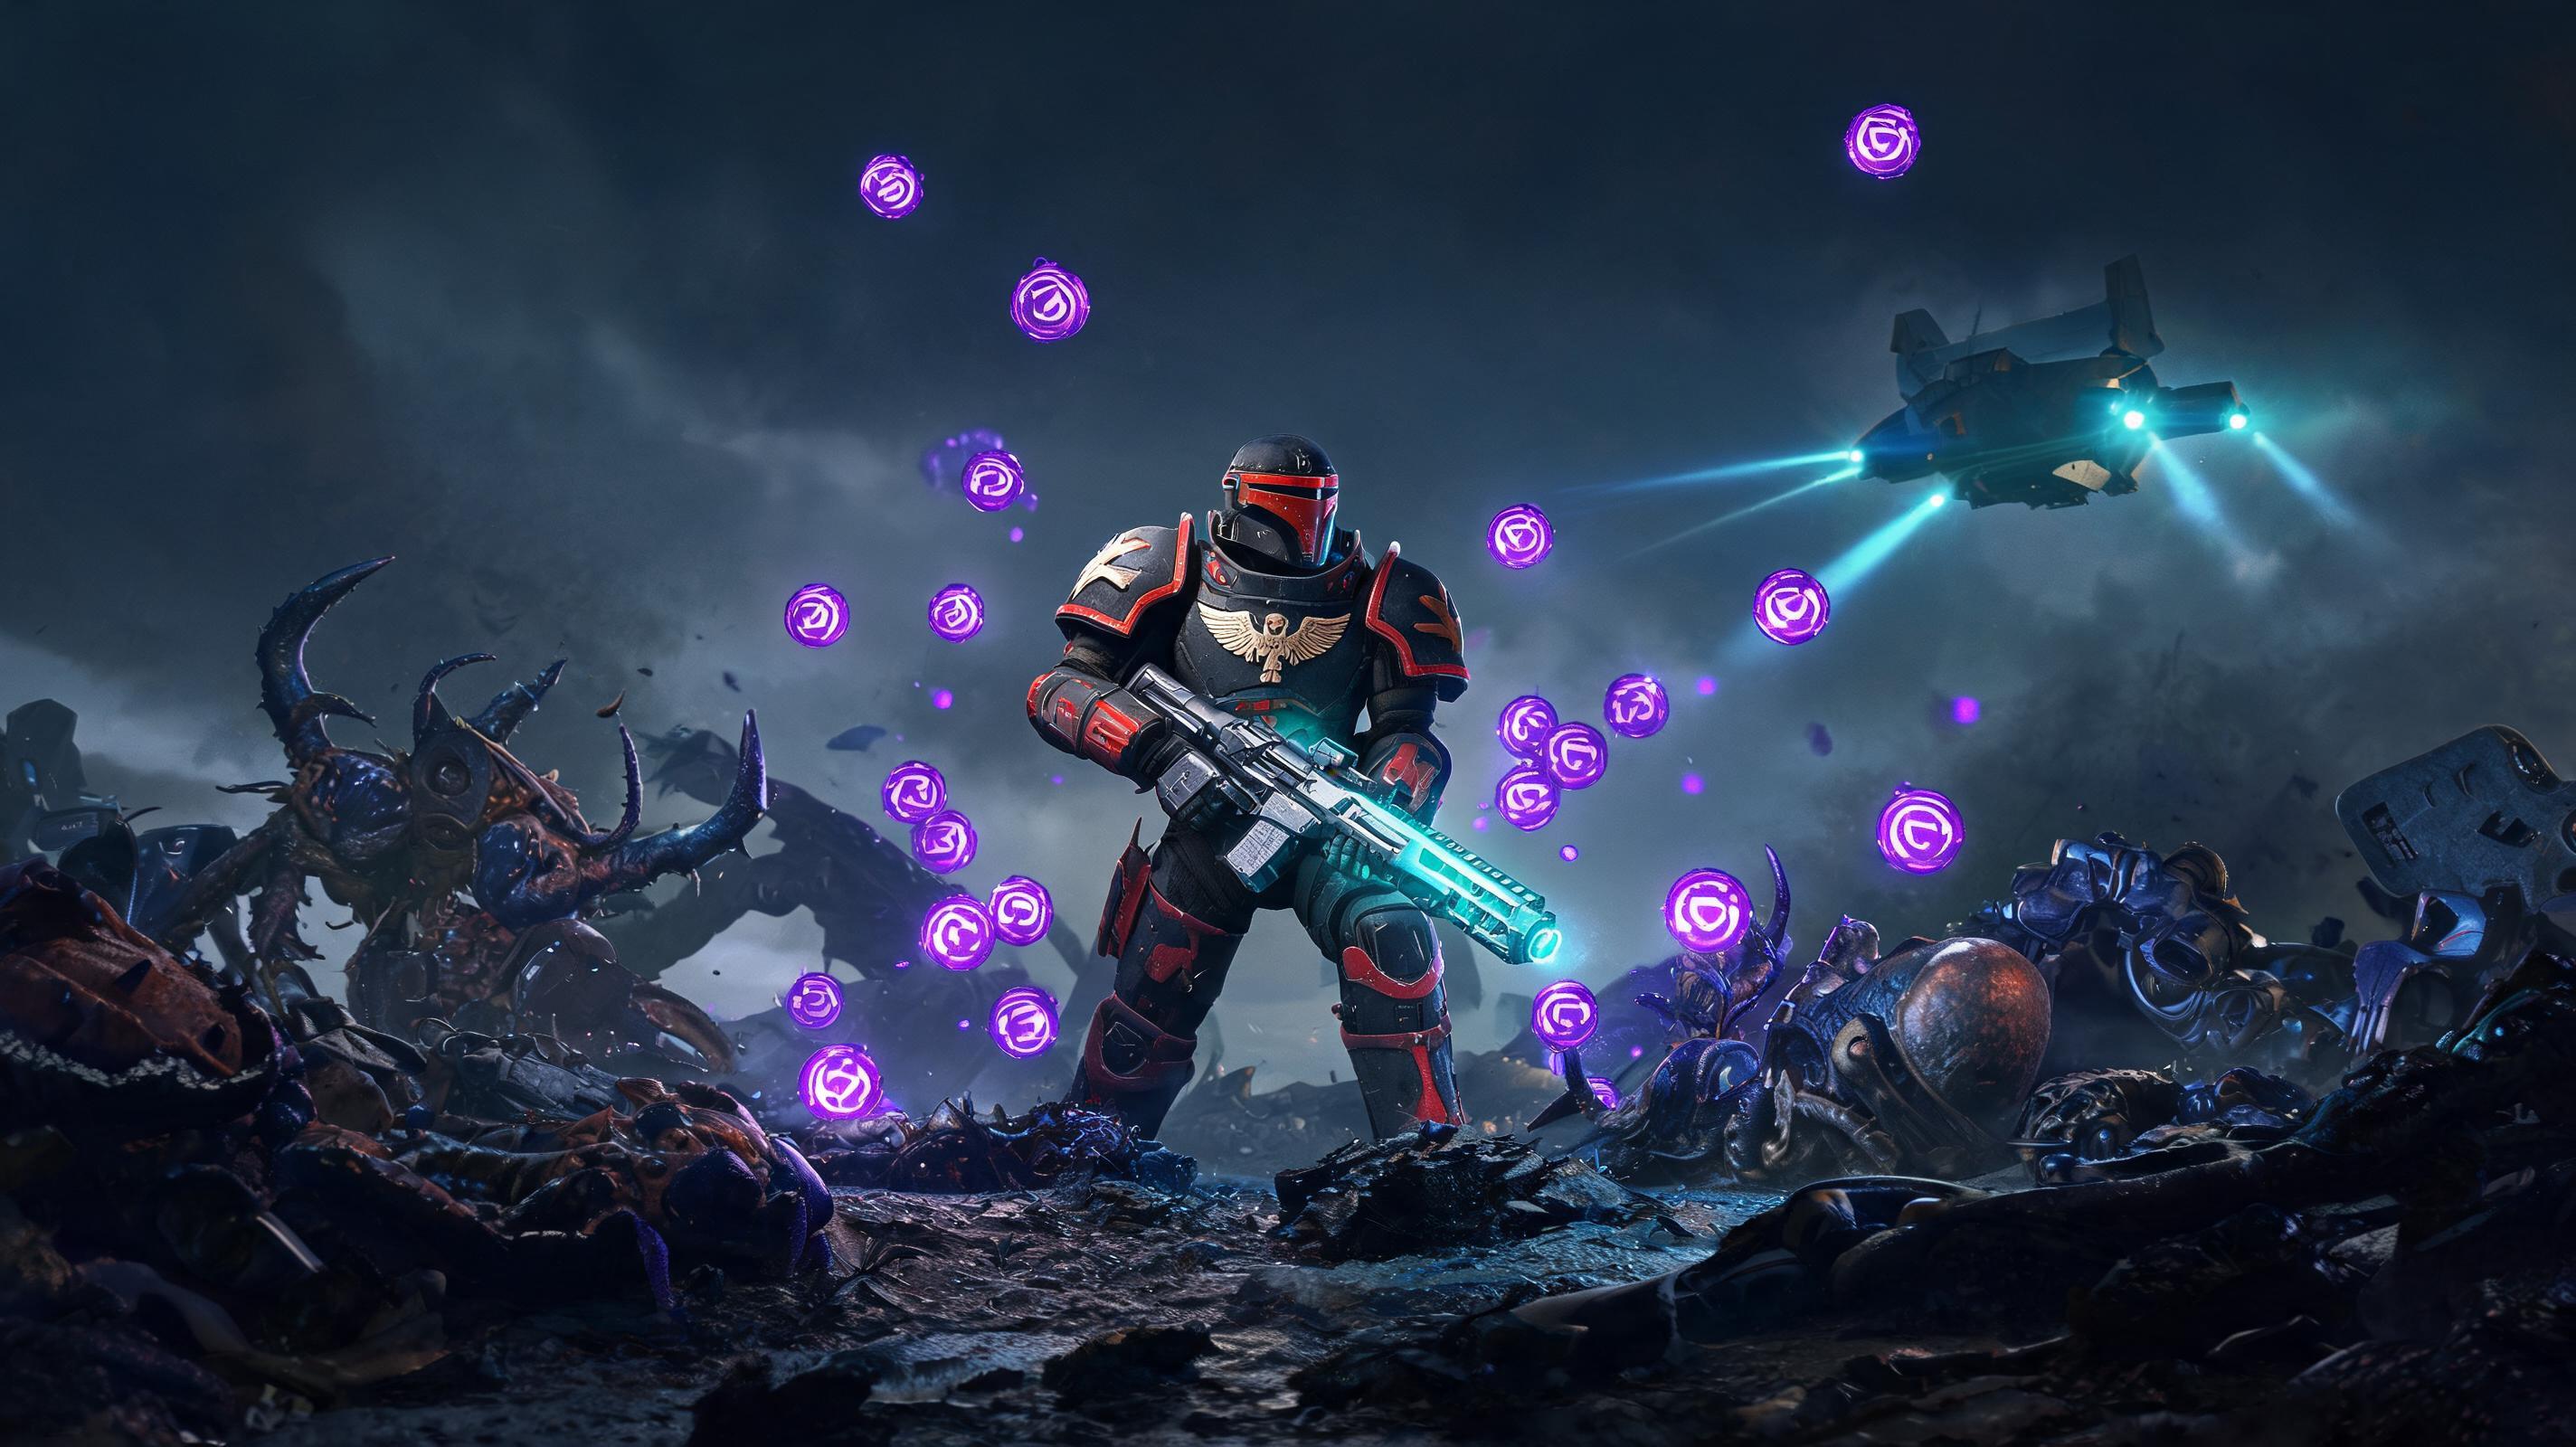
\n\nArrowhead snuck a critical hidden interaction into the ping system for collectibles: only pinged collectibles count toward your account-wide completion tracker. If you walk over a hidden sample or pre-cursor relic and don't ping it, the game will not register your discovery, even if you pick it up. That's why 60% of players working on all collectibles end up stuck at 58/60 with no way to track which ones they missed — they skipped pinging.
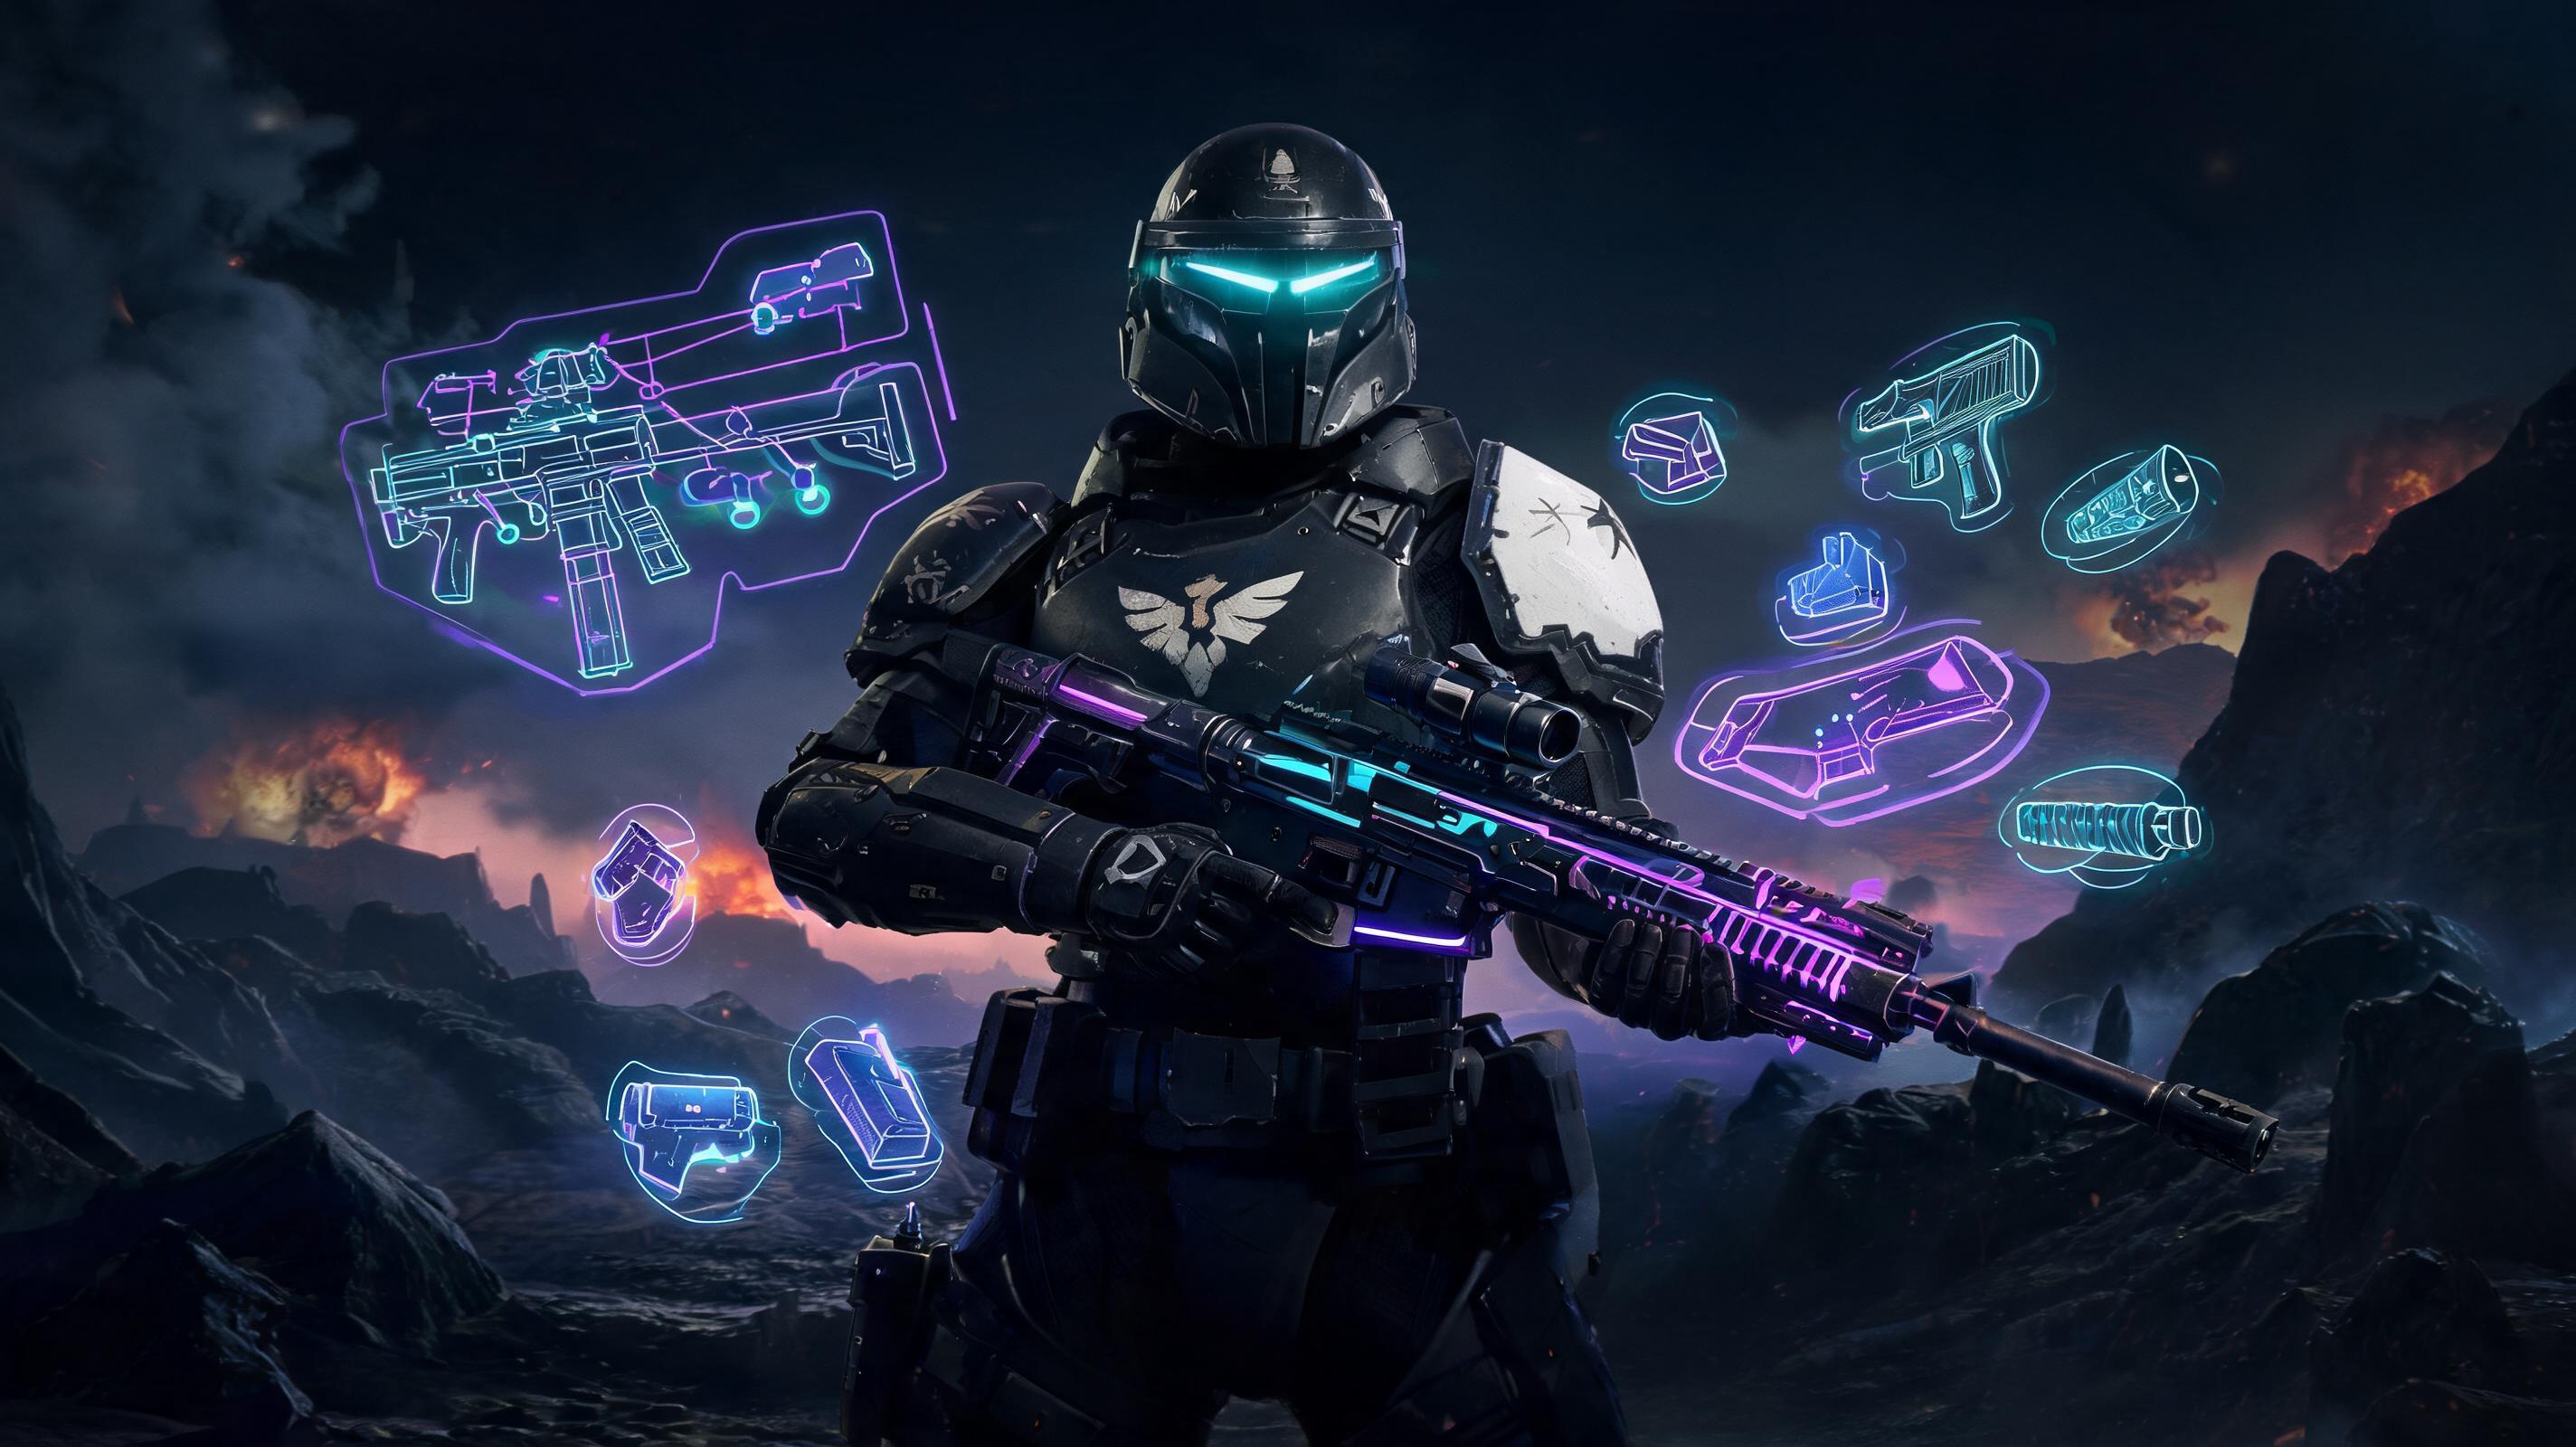
\n\nPing Mark Type Tier List (2025)
\nHelldivers 2 automatically detects what you're pinging and switches the mark icon based on your target. Below is our tier ranking of how useful each mark type is for collectible hunting:
\n| Tier | \nMark Type | \nIcon | \nJustification | \n
|---|---|---|---|
| S | \nCollectible | \nYellow Star | \nAuto-detects all hidden items when you ping within 12m, saves to completion tracker instantly. Perfect for documentation. | \n
| S | \nCustom Permanent Map Mark | \nRed Arrow | \nLets you mark collectibles that are off-screen or behind terrain for your teammates, stays through mission wipe if you rejoin. | \n
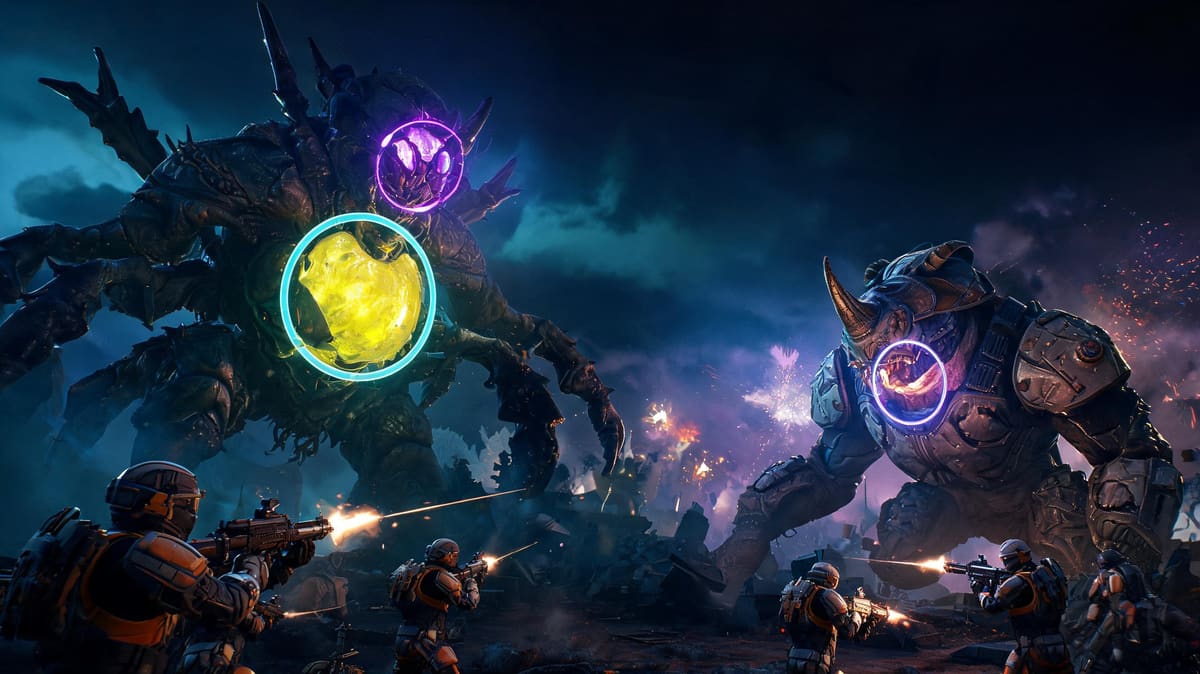
| A | \nEnemy | \nRed Exclamation | \nGreat for marking patrollers blocking collectible spawns, auto-updates if enemy moves. Only bad because it doesn't help with collectible progress. | \n
| B | \nStratagem Drop | \nGreen Circle | \nUseful for marking resupply near collectible sites, but doesn't contribute to progress. Solid for co-op play. | \n
| C | \nGeneric Point of Interest | \nBlue Question Mark | \nDefault mark when nothing else is detected, too vague for collectible hunting. Rely on auto-detect instead. | \n
| D | \nDanger | \nSkull | \nOnly spawns when you ping within 5m of a heavily armored enemy or environmental hazard. Useless for marking collectibles. | \n
See also: Helldivers 2 All Stratagem Codes (2025)
\n\nTotal Collectible Count Breakdown (2025)
\nAs of the 2025 Patriots Update, there are exactly 60 permanent collectibles across 4 main regions of the Helldivers 2 galaxy. 42 are Primary Objectives collectibles that spawn every mission on that planet, 18 are hidden missable secondary collectibles that only spawn on 10+ difficulty missions. Below is the full count:
\n- \n
- Super Earth Orbit: 0 story collectibles, 10 hidden collectibles unlocked after completing the main campaign \n
- Terminid Hive Region: 15 fixed collectibles, 4 missable hidden collectibles \n
- Automaton Factory Region: 20 fixed collectibles, 8 missable hidden collectibles \n
- Illuminate Ruins Region (DLC): 7 fixed collectibles, 6 missable hidden collectibles \n
- Total: 42 fixed, 18 missable, 60 all collectibles \n
Only permanent account-wide collectibles count toward the completion reward. Temporary mission samples and upgrade materials do not count toward your all collectibles progress, even if you pick them up. The only collectibles that matter are the Pre-Cursor Relics and Super Earth Propaganda posters that are fixed to specific locations across each region.
\n\nRegion-by-Region All Collectibles Location Guide (Marked with Ping)
\nBelow is a numbered checklist of every collectible, with exact map coordinates (for the in-game full-map grid) and instructions to ping and mark each location correctly. Remember: You must ping each collectible after picking it up to register it to your completion tracker.
\n\n1. Terminid Hive Region (19 Total Collectibles)
\nMercury Sector, grid coordinates run from A1 (northwest) to F6 (southeast). All collectibles marked below:
\n- \n
- Pre-Cursor Relic 1: Grid C3, 200m southwest of the main Hive Primary Objective. Spawns under an overhang next to a dead dropship. How to ping: Walk to the edge of the overhang, ping the relic — the yellow star will pop even if it's 3m below you. Hold ping to mark it permanently on your complete map. \n
- Propaganda Poster 1: Grid B2, on the side of the outpost watchtower on the northern edge of the sector. Climb the ladder to the top, ping the poster on the east wall. 12m range: if you're on the ground, your ping will detect it if you're standing under the tower. \n
- Pre-Cursor Relic 2: Grid D4, in the middle of the Terminid spawning pit. Jump down into the pit, the relic is behind a root on the west side. Kill all mobs first, then ping before picking up to avoid getting staggered mid-ping. \n
- Propaganda Poster 2: Grid A1, on the side of the crashed extraction shuttle near the northwest map border. The poster is on the underbelly of the shuttle, so stand 5m north of the wreck to ping it (the auto-detect will trigger correctly). \n
- Pre-Cursor Relic 3: Grid F5, 150m east of the secondary outpost. Spawns in a small cave entrance blocked by webs. Melt the webs with a flamethrower, then ping the relic inside. \n
- Propaganda Poster 3: Grid C2, inside the abandoned barracks. The poster is on the back wall behind a stack of crates. Stand at the door of the barracks, you're within 12m to auto-detect the collectible ping. \n
- Pre-Cursor Relic 4: Grid E1, on the ridge north of the river crossing. Look for a rock formation with three pillars, the relic is in the middle. Hold ping to mark it on the map for your teammates. \n
- Propaganda Poster 4: Grid B4, on the side of the fuel depot in the center of the region. Spawns on the south side of the main fuel tank. No need to climb, just ping from the ground. \n
- Pre-Cursor Relic 5: Grid D2, under the broken bridge across the northern river. The relic is half-buried in mud, so the yellow star ping will trigger 10m from the bridge before you can see it. \n
- Propaganda Poster 5: Grid F2, on the outer wall of the Terminid-contaminated research outpost. Ping it from outside the gate before you enter to avoid drawing aggro while you mark it. \n
- Pre-Cursor Relic 6: Grid A4, 300m southwest of the landing zone. Spawns in a small ravine between two hills. Use your ping to scan the ravine if you can't see it — auto-detect will find it for you. \n
- Propaganda Poster 6: Grid C5, inside the bunker entrance near the south map border. The poster is on the left wall immediately inside the door, so ping as soon as you open the door. \n
- Pre-Cursor Relic 7: Grid E3, on top of the central hill overlooking the entire region. The relic is next to a dead Helldiver with a level 25 weapon. Ping the weapon first, the relic will pop as a yellow star right next to it. \n
- Propaganda Poster 7: Grid D1, on the side of the communications tower in the northeast corner. Climb the tower halfway to get within 12m for the ping to trigger. \n
- Pre-Cursor Relic 8: Grid B3, in the back of the Terminid nursery cave. The relic is behind the largest egg sac. Kill the charger patrolling the cave first before you ping and collect. \n
- Missable Pre-Cursor Relic 9: (Difficulty 10+ only) Grid F1, northeast corner of the map, after you complete the Hive destruction objective, a small cave opens up in the side of the hill. If you leave before pinging this, it despawns and you have to start a new mission. Spawn rate: 100% on D10+, 0% on lower difficulties. \n
- Missable Propaganda Poster 8: (Difficulty 10+ only) Grid E6, inside the secret bunker that opens after you hack the three terminals in the southern sector. The poster is on the command center wall. Ping immediately after opening the bunker door. \n
- Missable Pre-Cursor Relic 10: (Difficulty 10+ only) Grid C1, under the ice floe in the northern part of the region. You have to blow the ice with an explosive to open the entrance. If you don't ping before extracting, it's gone. \n
- Missable Propaganda Poster 9: (Difficulty 10+ only) Grid A2, on the side of the frozen dropship that only spawns after a blizzard weather event. If you extract before the blizzard hits, it won't spawn. Ping the poster once the blizzard clears. \n
2. Automaton Factory Region (28 Total Collectibles)
\nMars Sector, grid coordinates G1 (northwest) to L10 (southeast). All locations below:
\n- \n
- Pre-Cursor Relic 11: Grid I4, 100m west of the main factory entrance. Spawns in a ruined Pre-Cursor structure half-buried in sand. Ping the top of the structure to trigger the yellow star collectible mark. \n
- Propaganda Poster 10: Grid G1, on the outer wall of the northern border outpost. Spawns between two guard towers. Ping from the ground, you're within 12m of the collectible. \n
- Pre-Cursor Relic 12: Grid K6, inside the factory's main assembly line. The relic is on a conveyor belt that moves slowly, so you have to time your ping when it stops at the bottom of the line. If you ping too early, it'll mark the conveyor belt as a generic POI instead of the relic. \n
- Propaganda Poster 11: Grid H3, on the side of the ammo factory in the west sector. The poster is behind a stack of automaton artillery shells, so stand 3m in front of the stack to ping it. \n
- Pre-Cursor Relic 13: Grid J2, on top of the northern ridge overlooking the factory. The relic is next to a downed Super Eagle fighter. Ping the wreck first, the relic will pop as a yellow star right next to the cockpit. \n
- Propaganda Poster 12: Grid L10, southeast corner of the map, on the outer wall of the rocket launch facility. Spawns on the left side of the launch pad entrance. You can ping it before you fight the Hulk boss that guards the pad. \n
- Pre-Cursor Relic 14: Grid I7, in the underground bunker below the factory's cooling tower. Blow the blast door open with explosives, the relic is on the desk in the control room. Ping immediately after entering to avoid getting flanked by troopers while you mark. \n
- Propaganda Poster 13: Grid F8, on the side of the water treatment plant in the southwest. The poster is above the large entrance door, so you don't need to climb, just stand back 5m and ping to get within 12m range. \n
- Pre-Cursor Relic 15: Grid G5, in the middle of the minefield that blocks the western pass. The relic is between the third and fourth row of mines. Ping it from a safe distance before you move in to collect it. \n
FOUND THIS GUIDE HELPFUL?
Share it with fellow gamers!
RELATED TOPICS
RELATED GUIDES
Helldivers 2: Helldivers 2 超级货币高效获取指南 - Boss Guide (2025)

Helldivers 2: Helldivers 2 超级货币高效获取指南 - Boss Guide (2025)
Helldivers 2: Helldivers 2 主武器指南 - Boss Guide (2025)
Helldivers 2: Helldivers 2 超级货币高效获取指南 - Boss Guide (2025)
Helldivers 2: Helldivers 2 weapon customization guide: How to level up and upgrade weapons - Tips & Tricks (2025)