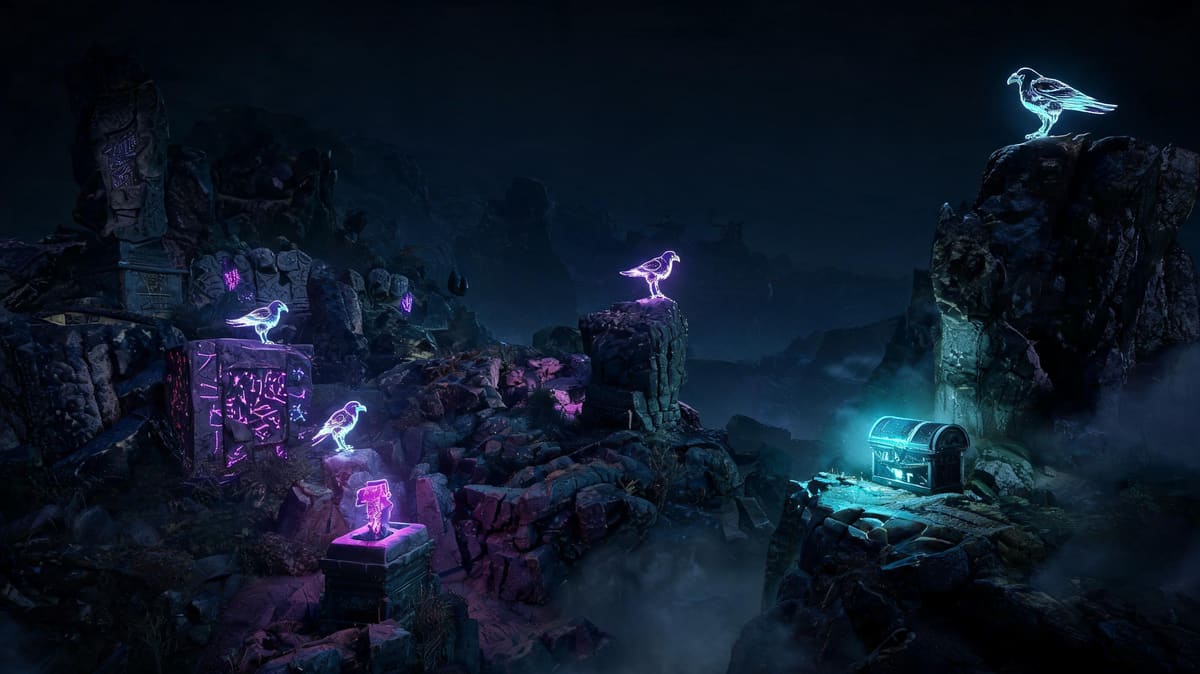
God of War Ragnarok All Odin's Raven Locations and Lore Collectibles Complete Guide
TL;DR
- There are 48 total Odin's Ravens across 9 realms in God of War Ragnarok
- 6 ravens are permanently missable if you finish the story before collecting them — we flag all of them below
- Full completion unlocks the Nine Realms Armor Set and 3 of the best early/mid-game talismans in the game
- This region-by-region checklist includes exact map coordinates and hidden locations most guides miss
Let's cut the crap: if you're a 100% completion junkie like me, you know Odin's Ravens are the most annoying collectible in God of War Ragnarok. These little floating bastards hide in every crack and crevice, blend into the background, and half the time you can't even hit them with your axe unless you know the exact angle. I've scoured every realm, double-checked every spawn, and compiled this all locations guide so you don't have to waste 10 hours scrolling IGN for wrong coordinates.
Overview: Total Count & Core Basics
Odin's Ravens are lore collectibles that double as a progression track for the Raven Tree in Niflheim. Here's the hard numbers you need to know:
- Total Odin's Ravens: 48
- Reward Tiers: Unlock a new chest every 6 ravens, starting at 6, 12, 18, 24, 36, and 48
- Missable Ravens: 6 (all in regions that lock after the main story)
- Required for 100% Completion: Yes, you need all 48 for the All It Takes Is 1 Minute trophy
Missable Ravens Warning
Stop right here if you haven't beaten the main story yet. These 6 ravens are permanently missable if you progress past the point of no return. Do not skip this section:
- Alfheim: The Strond → 1 raven locked after the Temple of Light main quest
- Alfheim: Temple of Light → 2 more ravens locked after main quest completion
- Asgard: The Watchtower → 2 ravens locked after the end of the main story (Asgard becomes inaccessible post-game)
- Asgard: Main Compound → 1 raven locked after main story completion
If you've already finished the game and missed these, you'll need to reload a pre-final-boss save to collect them. There's no post-game unlock for Asgard, don't let any wiki tell you otherwise.
Region-by-Region All Raven Locations Checklist
We're going region-by-region in the order you unlock them, with exact map references and spawn details. I've included the in-game map coordinate (relative to the top-left corner) for each to make tracking easy.
1. Midgard (Total: 6 Ravens)
- Raider Hideout → Map Coords: X: 120, Y: 285 → Spawns on the cliff above the hideout entrance. Throw your axe through the gap in the rock wall to hit it before it flies away. You can get this during your first trip to Midgard.
- Lower Wildwoods → Map Coords: X: 112, Y: 310 → Behind the Nornir Chest near the mystic gateway, perched on a dead tree. Easy, just line up the shot.
- Temple of Tyr → Map Coords: X: 198, Y: 182 → Inside the temple, on a ledge above the main entrance after you lower the bridge. Don't miss this on your way in — it's easy to backtrack, but a waste of time.
- Lake of Nine (North) → Map Coords: X: 210, Y: 152 → Perched on the side of the broken mast of the giant ship near Tyr's helmet. Line up the shot from the gateway to avoid missing.
- Lake of Nine (South) → Map Coords: X: 205, Y: 220 → Behind the ice wall you break with the spear, perched on a rock ledge. You need the Draupnir Spear for this one, so it's post-game only.
- Well of Urd → Map Coords: X: 82, Y: 110 → Above the mystic gateway entrance, perched on a cliff. You can hit it from the gateway platform no problem.
2. Svartalfheim (Total: 13 Ravens)
Svartalfheim has the most ravens in the game, so pay attention. 0 are missable here, so you can come back any time post-game.
- Applecore (Entrance) → Map Coords: X: 222, Y: 124 → On the crane above the train tracks after you clear the first ore block. Easy shot from the platform.
- Applecore (Lower Level) → Map Coords: X: 242, Y: 108 → Behind the water wheel, perched on a metal pipe. Wait for the wheel to spin to the open position to get a clear shot.
- Applecore (Upper Level) → Map Coords: X: 258, Y: 92 → Above the Nornir Chest, on a wooden beam. Hit it before you drop down to the chest.
- Dragon Beach → Map Coords: X: 140, Y: 160 → On the cliff above the mystic gateway, near the giant dragon statue. Line up the shot from the beach.
- Alberich Hollow → Map Coords: X: 175, Y: 142 → Behind the rift you open with the spear, perched on a rock. You need the spear for this one.
- Alberich Island → Map Coords: X: 202, Y: 135 → Perched on the mast of the sunken boat near the lore marker. Throw through the gap in the wreckage.
- Bade of Barri → Map Coords: X: 340, Y: 120 → On the cliff across from the Nornir Chest, between two rock pillars. You can see it from the boat dock.
- Jarnsmida Pitmines → Map Coords: X: 288, Y: 78 → After you use the crane to swing across, look up to the left. It's perched on a rock ledge above the train tunnel.
- Gustanter Delta → Map Coords: X: 312, Y: 168 → Above the mystic gateway, on a dead tree. Easy kill from the gateway platform.
- Modvitnir's Rig → Map Coords: X: 182, Y: 180 → At the top of the rig, perched on the crane arm. Climb all the way up to get a clear shot.
- Nidavellir → Map Coords: X: 148, Y: 205 → On the roof of the main town building, near the tavern. Hit it from the main square before you talk to Sindri.
- Radsvinn's Rig → Map Coords: X: 210, Y: 162 → Perched on the smoke stack at the top of the rig. Kill the raiders first so you don't get interrupted mid-throw.
- The Watchtower → Map Coords: X: 172, Y: 145 → Behind the poison totem on the lower level. Blow up the pot to clear the poison, then line up your shot.
3. Alfheim (Total: 10 Ravens, 3 Missable)
- The Strond (MISSABLE) → Map Coords: X: 110, Y: 160 → After you exit the cave with the first purple crystal, look up to the cliff on your right. Lock this in before you enter the Temple of Light — the region locks after you finish the main quest here.
- The Strond → Map Coords: X: 90, Y: 130 → Above the mystic gateway, perched on a ledge. You can hit this on your way in or out, no miss here.
- Temple of Light (MISSABLE) → Map Coords: X: 152, Y: 142 → After you cross the first light bridge, look up to the high ceiling near the raised door. Perched on a beam.
- Temple of Light (MISSABLE) → Map Coords: X: 182, Y: 128 → In the bottom chamber where you fight the dark elves, after you lower the light elevator. Perched on a rock ledge in the back of the room.
- The Barrens → Map Coords: X: 210, Y: 110 → In the middle of the desert, near the giant skeleton of the dragon. Perched on a rib bone.
- The Barrens → Map Coords: X: 118, Y: 140 → Near the entrance to the Lost Treasury, on the cliff above the gate. Hit it from the entrance path.
- The Forbidden Sands → Map Coords: X: 242, Y: 182 → Above the entrance to the Burrows, on the cliff face. Line up the shot from the sand portal.
- The Forbidden Sands → Map Coords: X: 310, Y: 212 → At the top of the temple near the Hafgufa, perched on a pillar. You can see it from the ground floor.
- The Forbidden Sands → Map Coords: X: 198, Y: 240 → Behind the elven library, on a dead tree. Clear the red poison block first with the spear, then take the shot.
- The Forbidden Sands → Map Coords: X: 280, Y: 148 → Near the Odin's statue lore marker, perched on the statue's shoulder. Free kill, no tricks here.
4. Vanaheim (Total: 10 Ravens)
0 missable here, all accessible post-game. Vanaheim's ravens are mostly hidden in the jungle area, so bring your poison resistance armor.
- The Southern Wilds → Map Coords: X: 180, Y: 310 → Above the mystic gateway, on a dead tree. Kill it before you enter the main jungle.
- Freyr's Camp → Map Coords: X: 210, Y: 282 → Behind the main camp, on a cliff above the gear puzzle. You can see it from the food storage area.
- Eastern Barri Woods → Map Coords: X: 280, Y: 240 → Above the bridge that collapses after you cross, perched on a rock ledge. Turn around after crossing to hit it.
- The Plains (North) → Map Coords: X: 182, Y: 180 → On the cliff above the Celestial Altar, perched on a tree. Line up the shot from the altar platform.
- The Plains (South) → Map Coords: X: 210, Y: 210 → Near the dragon shrine, behind a rock pillar. You need the spear to clear the rock block to get a clear shot.
- The Jungle → Map Coords: X: 212, Y: 142 → Above the entrance to the dam, perched on a wooden beam. Hit it before you climb up to open the dam.
- The Jungle → Map Coords: X: 248, Y: 162 → In the back of the arena where you fight the dragon, on the wall above the gate. Kill the dragon first, then take your time lining up the shot.
- The Sinkholes → Map Coords: X: 280, Y: 210 → Above the mystic gateway entrance, on a cliff. You can hit it from the boat dock.
- The Sinkholes → Map Coords: X: 310, Y: 180 → Near the Nornir Chest, perched on a rock arch. Line up the shot from the beach.
- The Abandoned Village → Map Coords: X: 148, Y: 240 → Above the crane, after you spin it to the other side. Climb up to the platform and hit it from there.
5. Asgard (Total: 3 Ravens, 3 Missable)
All 3 are missable. Asgard is 100% inaccessible after you finish the main story. Do not leave Asgard without collecting these:
- The Watchtower (MISSABLE) → Map Coords: X: 120, Y: 120 → Perched on the top of the watchtower near the Bifrost. Climb all the way up to get the shot.
- The Watchtower (MISSABLE) → Map Coords: X: 108, Y: 142 → Below the watchtower, on the cliff near the shore. Hit it from the dock before you climb up.
- Main Asgard Compound (MISSABLE) → Map Coords: X: 180, Y: 160 → Behind Týr's cell, on the wall above the door. You pass this on your way to the main feast — grab it then or it's gone forever.
6. Vanaheim (Continued) | 6. Helheim (Total: 4 Ravens)
0 missable, all accessible post-game:
- Hel's Perch → Map Coords: X: 120, Y: 120 → Above the mystic gateway, on a ice ledge. Easy shot from the gateway.
- The Gleaming Bale → Map Coords: X: 162, Y: 148 → Perched on a ice pillar in the middle of the chasm. Throw your axe through the gap to hit it.
- The Helgrind → Map Coords: X: 210, Y: