TL;DR Quick Reference
- Sleipnir Total HP: 325,000 (140,000 Phase 1, 185,000 Phase 2) on Action Mode, 478,000 on Final Fantasy Mode
- Best Loadout: Eikon Abilities: Gouge (Garuda), Flames of Rebirth (Ifrit), Raining Blood (Odin) / Weapon: Gotterdammerung / Accessory: Battle Tunic + Willed Ring of Timely Dodging
- Optimal Stagger Strategy: Build stagger with Gouge between attacks, pop Limit Break immediately on stagger for 70k+ damage
- Punish Windows: 2.2s after Stormspike, 1.8s after Zantetsuken Full Charge, 3.0s after Hound of the Wild Hunt
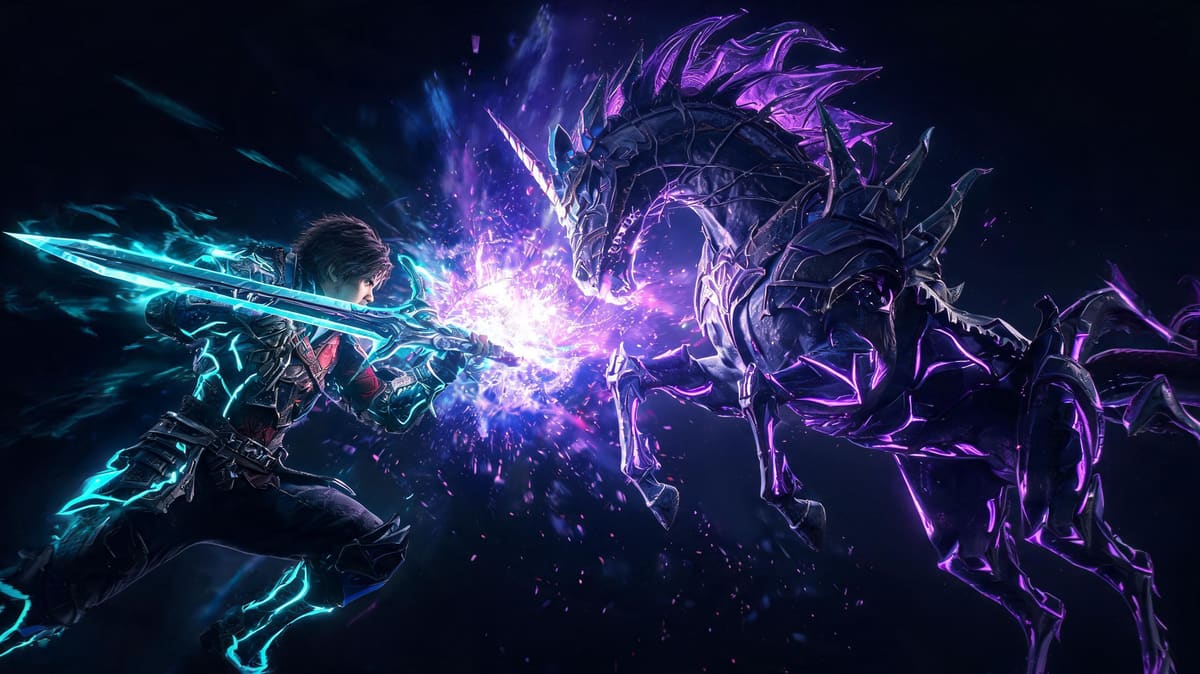
Boss Overview: Who Is Sleipnir, The Harbinger?
You fight Sleipnir at the end of the Footfalls in Ash main quest, right before you face Odin full-power in Final Fantasy XVI. This isn't your regular run-of-the-mill boss fight: he's a speed-based, aggressive humanoid boss with 0% tolerance for misplays, and he's the first boss that actually tests your mastery of Eikon swapping, dodge timing, and stagger management. This boss strategy will break down every part of the fight, from pre-fight loadout to end-of-phase burst windows, so you can walk out with the win even on Final Fantasy Mode.
Key base stats for min-maxing:
| Stat | Action Mode | Final Fantasy Mode |
|---|---|---|
| Total HP | 325,000 | 478,000 |
| Phase 1 HP Threshold | 140,000 (43%) | 210,000 (44%) |
| Base Stagger Resist | 12,000 | 16,500 |
| Maximum Stagger (Topple) | 120,000 | 155,000 |
| Staggered Duration | 10s | 8s |
| Typical Melee Damage Per Hit | 2,100 | 3,400 |
Recommended Loadout & Setup (Tier Ranked)
Let's cut the crap: the wrong loadout will get you one-shot before you even hit phase 2. This is the best possible setup for any difficulty, with tier rankings for every Eikon ability, accessory, and weapon.
Best Eikon Ability Tier List (S Tier = Must-Have)
| Tier | Eikon Ability | Reasoning |
|---|---|---|
| S | Gouge (Garuda) | 4,800 stagger per full connect, 1.2s animation, builds Zantetsuken gauge faster than any other ability. 12s cooldown is perfect for cycling between Sleipnir's attack rotations. |
| S | Flames of Rebirth (Ifrit) | 8,200 damage + 3,200 stagger, full invulnerability during the animation, great for punishing long windups and clearing the Wild Hunt hounds. Heals you for 10% of damage dealt, which saves you from potion spam. |
| S | Raining Blood (Odin) | 5,500 damage + 2,800 stagger over 3 hits, sticks to Sleipnir even when he's dashing, and massively buffs your Zantetsuken charge rate. Perfect for off-cooldown damage between abilities. |
| A | Upheaval (Titan) | Good stagger damage, but the animation is too slow for Sleipnir's speed. You'll whiff half the time if you don't time it perfectly. |
| A | Pile Drive (Garuda) | Great damage, but bad stagger gain compared to Gouge. Only run this if you're running a full damage build. |
| B | Heaven's Cloud (Odin) | Too much commitment, leaves you open to counter hits. Only useful for pre-stagger burst if you have nothing else. |
| C | Any Bahamut Ability | Sleipnir is never stationary long enough to get a full Gigaflare off. You're just wasting a slot if you run these. |
Optimal Full Loadout By Difficulty
- Weapon: Gotterdammerung (375 Attack, 375 Stagger) → If you don't have it, use the Invictus (340 Attack) from the main quest. Any weapon under 300 attack will make the DPS check in phase 2 way tighter.
- Accessories (Action Mode): 1) The Man In Black (reduces Odin ability cooldowns by 10%), 2) Battle Tunic (+10% damage, +10% stagger), 3) Willed Ring of Precision Dodging (extends precision dodge window by 10%)
- Accessories (Final Fantasy Mode): 1) Willed Ring of Timely Focus (slows time on dodge, 20% damage penalty is worth the survival), 2) Ring of Healing Potion ++ (increases potion healing by 30%), 3) The Man In Black (Odin cooldown reduction)
- Stats: Hit at least 350 attack before going into this fight. Anything lower and you'll run out of time before the DPS check enrage in phase 2. 325 is the minimum breakpoint for a clear.
Phase-By-Phase Breakdown
Sleipnir has two full phases, with a hard transition cutscene at 43% total HP. The second phase adds 3 new deadly attack patterns and ramps up his aggression by 30%, but the core stagger strategy stays the same. Let's break it down step by step.
Phase 1 (100% → 43% HP: 140,000 HP Action Mode)
Phase 1 is all about learning his tells, building stagger slowly, and not burning all your cooldowns before the transition. Sleipnir cycles between 6 core attack patterns in phase 1, with no enrage, so you can take your time to learn spacing.
Attack Pattern Analysis & Punish Windows
| Attack Name | Tell | Damage (Action/FF Mode) | Punish Window | Strategy |
|---|---|---|---|---|
| Five-Point Strike | Sleipnir sheathes his sword, glows blue for 0.5s, then dashes 5 times in sequence. | 1,900 / 3,100 per hit | 2.0s after the 5th dash | Dodge each dash on the frame he reappears next to you. Don't roll early. After the 5th hit, pop Gouge for full stagger damage. |
| Stormspike | Sleipnir jumps backward, holds his sword above his head, then leaps at you with a vertical slash. | 3,200 / 5,100 (full hit) | 2.2s after impact | Precision dodge sideways right as he lands. If you do it right, you get a free counter into Gouge. This is the most common punish window in phase 1. |
| Cross Slash | Two quick horizontal slashes, one after the other, no windup. Fast but easy to read. | 2,100 / 3,400 per hit | 1.1s after second slash | Dodge both, get one quick melee combo, don't waste an ability here. Too small a window for anything bigger. |
| Spin Slash | Sleipnir spins his sword above his head for 0.8s, then charges forward 15m. | 2,800 / 4,500 per tick, 2 ticks total | 1.7s after he stops charging | Roll sideways to avoid the charge, then hit him with Raining Blood as he recovers. Don't try to block this, it breaks guard and staggers you for a follow-up hit. |
| Zantetsuken (Half Charge) | Sleipnir glows red for 1.2s, then unleashes a wide horizontal slash. | 4,100 / 6,800 | 1.8s after the slash lands | This is a high-damage hit that will one-shot you on Final Fantasy Mode if you're under 60% HP. Dodge backward, don't try to trade. Punish with an ability after. |
| Thrust Combo | Three quick lunging thrusts, each tracking your movement. | 1,700 / 2,800 per hit | 0.8s after third thrust | Dodge through each thrust to get behind him, get a 2-hit melee combo in, then back off. Too risky for anything bigger. |
Phase 1 Stagger Strategy: Your goal is to get one full stagger before the phase transition, if you can. Every time you get a punish window, drop one ability, then go back to dodging. Don't chase Sleipnir when he's repositioning — he will counter you 9 times out of 10. By the time you hit 45% HP, you should have Zantetsuken charged to at least level 3. Save it for the stagger in phase 2, don't blow it early.
Pro Tip: When you knock Sleipnir into the phase transition at 43% HP, don't pop your Limit Break before the cutscene. It carries over, so save it for the phase 2 stagger, when it does way more good.Phase 2 (43% → 0% HP: 185,000 HP Action Mode)
Phase 2 is where most players wipe. Sleipnir gets 20% faster, adds 3 new deadly attack patterns, gains 15% more stagger resistance, and has a soft enrage at 10% HP where he starts spamming full-charge Zantetsuken nonstop. The core boss tips here are stay calm, don't get greedy, and punish the new attacks just like the old ones.
New Phase 2 Attack Pattern Analysis
| Attack Name | Tell | Damage (Action/FF Mode) | Punish Window | Strategy |
|---|---|---|---|---|
| Hound of the Wild Hunt | Sleipnir sheathes his sword, 2 spectral hounds spawn at either edge of the arena and charge you. | 2,900 / 4,700 per hound, 5,800 / 9,400 if both hit | 3.0s after the hounds despawn | This is your biggest punish window in phase 2. Drop Flames of Rebirth as soon as the hounds start charging — it kills both hounds instantly, deals damage to Sleipnir, and gives you full i-frames through the entire attack. You get a full 3 seconds to unload all your abilities after. |
| Zantetsuken (Full Charge) | Sleipnir steps back, the entire screen glows red, he charges for 2.5s before unleashing a giant AoE slash. | 9,200 / 14,800 → will one-shot you 100% of the time on any difficulty if you're under full HP | 1.8s after the slash lands | Don't block, don't roll sideways. Roll backward twice to get out of the AoE range. If you're feeling risky, you can precision dodge on the frame of the slash to get a counter, but that's a 6-frame window — only attempt that for no damage runs. |
| Blade Dance | Sleipnir dashes around the arena, hitting you with 8 quick consecutive slashes, ending with a heavy vertical finisher. | 1,800 / 2,900 per slash, 4,500 / 7,300 finisher | 2.1s after the finisher | Dodge in the direction he's dashing — don't run away, he tracks you. After the finisher, you have time for a full Raining Blood + Gouge combo. Don't trade hits during the dash sequence, you'll lose every time. |
| Leaping Strike | Sleipnir dashes across the arena, then leaps at you with a spinning slash. Repeat 2x. | <