TL;DR Quick Hitters
- S Tier Weapon: Blasphemous Blade +10 with Fire's Deadly Sin does 18-22% of Radahn Phase 2 HP per combo (12,800+ DPS)
- HP Threshold Trigger: Phase 2 starts at 45% total boss HP (17,280 out of 38,400 total HP on NG)
- Biggest Punish Window: 2.8 seconds after the Gravitational Collapse ultimate—enough for a fully charged R2 or weapon art
- Mandatory Gear: Radahn's Redmane Lightning Talisman (cuts Radahn's lightning damage by 35% and boosts your physical by 10%)
Boss Overview: What Makes Radahn Phase 2 Different From Base Game?
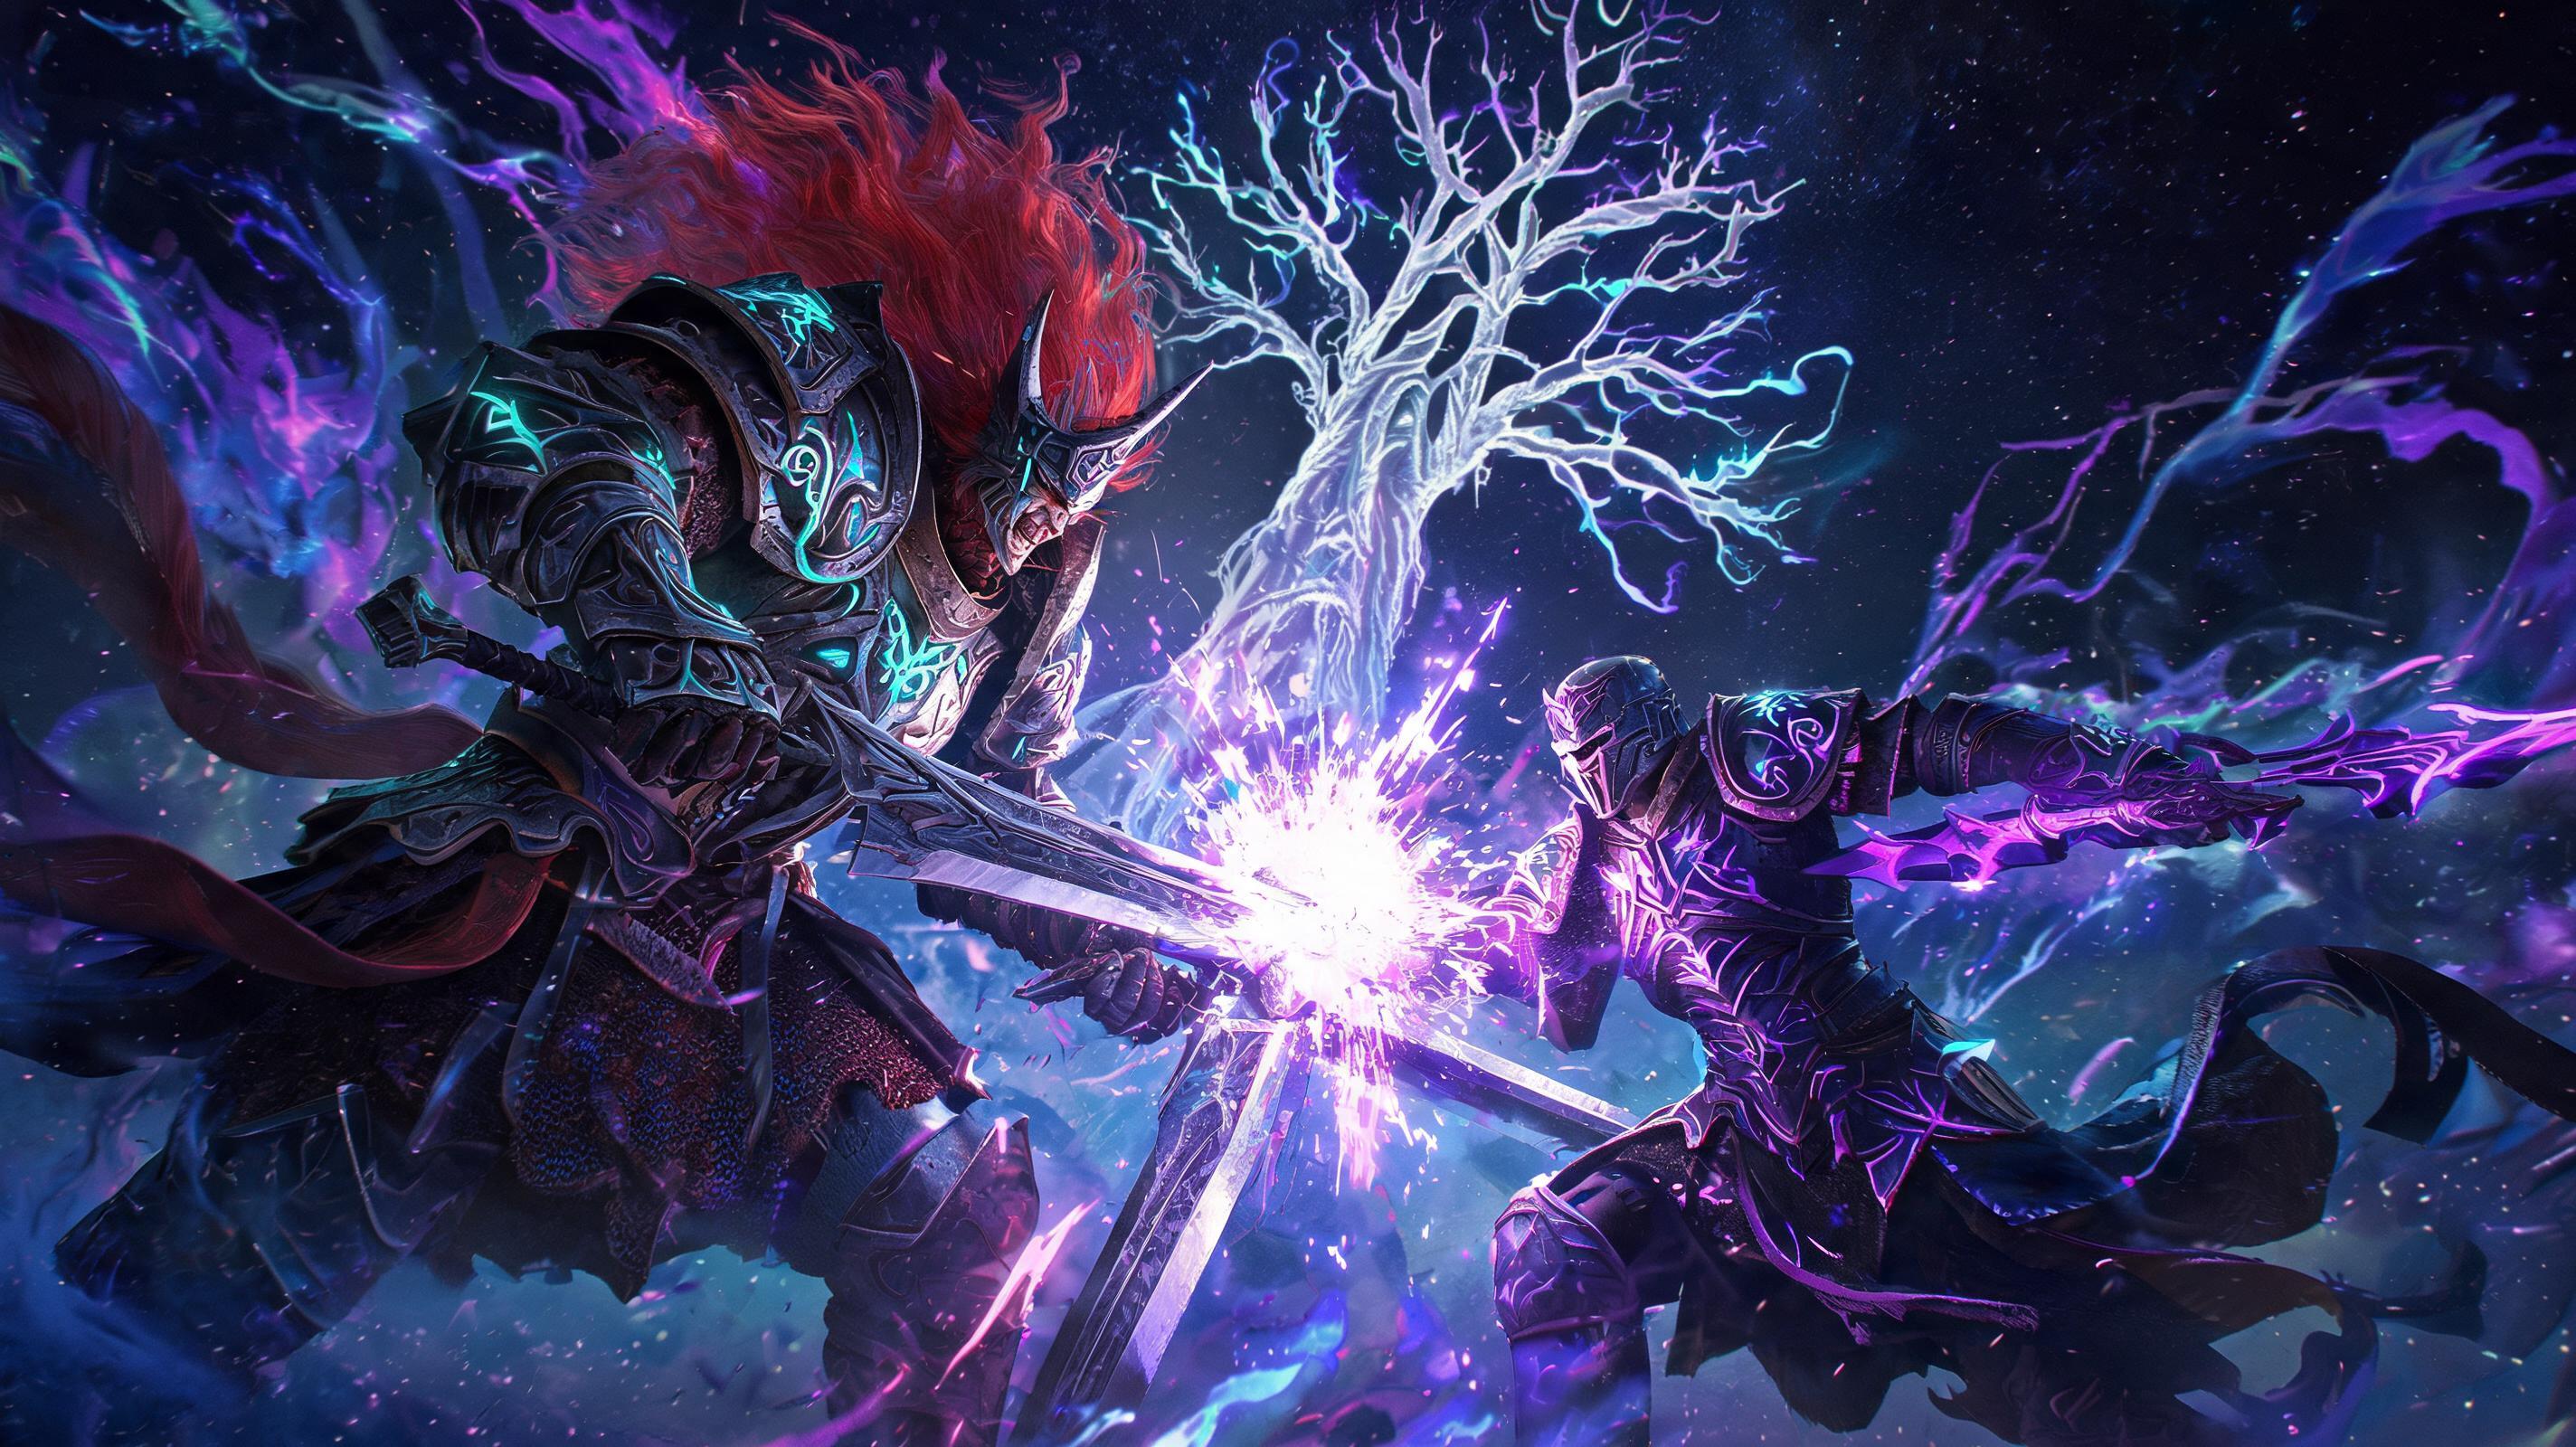
If you thought you knew Starscourge Radahn from the base Elden Ring, prepare to get your shit pushed in. This isn't the horseback archer you kited years ago—this is Final Boss Radahn Phase 2 (Shadow of the Erdtree), the true apotheosis of the Rot-bitten general, and the hardest boss fight in the entire Elden Ring DLC bar none.
For context: You fight Radahn in two full phases in Shadow of the Erdtree. Phase 1 is a callback to his base game fight, but tuned up for endgame DLC. Hit him below the 45% total HP threshold (17,280 HP on NG, 38,016 HP on NG+) and he triggers a cutscene that completely resets the arena, buffs all his damage by 40%, and unlocks a whole new moveset focused on gravity magic and corrupted lightning. This guide is exclusively focused on that deadly second phase—we're assuming you already got past Phase 1 clean, and need the hard details to close out the fight.
| Stat | NG Phase 2 HP | NG+ Phase 2 HP | Physical Defense | Lightning Defense | Weakness |
|---|---|---|---|---|---|
| Value | 17,280 | 38,016 | 112 | 138 | Fire (+20% damage taken) |
Radahn's Phase 2 arena is a flat, cracked plateau with no cover, and no Torrent—this is a 1v1 duel to the death, no kiting on horseback allowed. You have a 15-minute enrage timer (triggered when he drains all the arena's gravity and one-shots you regardless of max HP), so this is also a tight DPS check, not just a mechanical challenge.
Pro Tip: Don't bother with summoning a spirit ash over +10 here. They die in 1 hit to 90% of Phase 2 moves, and they draw aggro unpredictably, which messes up your punish timing. If you absolutely need a crutch, use the Dung Eater Puppet—he has 4,200 poise HP and can survive 2 combos to buy you 10 extra seconds of damage. That's it.Recommended Loadout & Setup: Tier Rankings for 2025 Meta
Hardcore players know that loadout wins this fight as much as mechanical skill. Radahn has a clear fire weakness, so we're building around that. Below is the definitive tier ranking for weapons, talismans, and flasks for this boss strategy:
Best Weapons Tier List (NG)
| Tier | Weapon | Damage Per Full Combo | DPS | Notes |
|---|---|---|---|---|
| S | Blasphemous Blade +10 (Fire Affinity, 80 Faith) | 3,100-3,800 | 12,800+ | Heals you on every hit, Taker's Flames clips through his poise |
| S | Frenzied Flame's Reaver+10 (50/50 Str/Faith) | 2,900-3,500 | 11,900 | Wide AoE cleave that catches his movement |
| A | Morgott's Cursed Sword +10 (Blood Affinity) | 2,400-2,900 | 10,200 | Fast bleed procs, good for hit-and-run |
| A | Hand of Malenia +10 (Dex/Arc) | 2,200-2,700 | 9,800 | High bleed, but requires close spacing that gets you hit |
| B | Dark Moon Greatsword +10 | 1,800-2,200 | 7,400 | Magic damage doesn't get the weakness bonus, too slow |
| C | Lion Greatbow +10 | 1,200 per shot | 3,100 | He closes distance too fast, you can't keep distance for sniping |
| D | Starscourge Greatsword +10 | 800-1,200 per combo | 2,800 | Ironic, right? His own weapon does 30% less damage to him because of his high gravity resistance. Skip it. |
Best Talismans (Ranked)
- 1. Radahn's Redmane Lightning Talisman (S Tier, Mandatory): Drops all Radahn's lightning damage by 35% and boosts your physical damage by 10%. Found in the destroyed Redmane Castle in the Land of Shadow. No reason not to run this—cuts his most one-shotty damage by almost half.
- 2. Fire Scorpion Charm (S Tier): Boosts fire damage by 12% for a trivial 10% defense penalty. Worth it for the weakness damage bump.
- 3. Green Turtle Talisman (A Tier): Stamina recovery is everything here—you're rolling nonstop. 10% extra stamina recovery lets you get that extra R2 off in punish windows.
- 4. Erdtree Favor +2 (A Tier): Extra HP and stamina = more room for error. 15% extra HP gets you out of one-shot range on most weaker attacks.
- 5. Dragoncrest Greatshield Talisman (B Tier): Only run this if you're using a heavy shield for blocking. Cuts physical damage another 20%.
Flask & Physick Setup
- Flask Allocation: 3 Cerulean, 6 Crimson (for spellblade/faith builds) | 0 Cerulean, 9 Crimson (for melee pure builds)
- Physick: Fireproof Dried Liver Tear + Strength/Knot Tear (melee) | Faith-Knot Tear + Crimsonburst Crystal Tear (faith)
Stat breakpoints to hit before the fight: 60 Vigor (minimum, gives you 1,900 HP—enough to survive one non-ultimate hit), 40 Endurance (for enough stamina to roll twice and attack), 80 Faith/60 Strength (depending on your weapon, for maximum damage output).
Pro Tip: Pop Fireproof Dried Liver before Phase 2 starts. It lasts 3 minutes, which covers 99% of Phase 2 fight duration, and cuts all fire damage by another 20% (Radahn gets some fire infusions in Phase 2, so this adds extra survival).Phase 2 Breakdown: Trigger & Mechanical Flow
Phase breakdown starts the second the cutscene ends. Radahn spawns 30 meters across the arena from you, buffs his swords with corrupted lightning, and opens with either a gravity pull or a lightning projectile. The entire phase can be split into three sections based on HP, each with slightly adjusted attack patterns:
Phase 2 Opening (100% → 60% Phase 2 HP = 17,280 → 10,368 HP)
Radahn starts with longer combo chains (4-5 hits per combo) and more ranged attacks. He's testing your spacing here. He doesn't use his ultimate Gravitational Collapse in this section, so your main goal is to poke damage after dodges, don't get greedy.
Phase 2 Mid (60% → 30% Phase 2 HP = 10,368 → 5,184 HP)
Radahn starts mixing in unblockable grab attacks and lightning AoE blasts. He will use Gravitational Collapse once here. This is the highest risk section—most players die here because they panic after the first ultimate. Just stick to the pattern we break down below.
Phase 2 Endgame (30% → 0% HP = 5,184 → 0)
Radahn gets a 15% attack speed buff, reduces combo length to 2-3 hits, and uses Gravitational Collapse on a 30-second cooldown. He also staggers 20% easier here, so if you've saved your weapon art for this section, you can delete him before he gets a second ultimate off.
Full Attack Pattern Analysis & Punish Windows
This is where most wiki guides drop the ball. Every attack in Radahn Phase 2 has a specific punish window with specific timing—we're breaking down every single one with exact frame counts and damage you can fit.
1. Corrupted Lightning Dual Slash Combo
- Damage: 850 per slash (1,700 total) → one-shots you if you're under 50 Vigor
- Startup: 18 frames
- Punish Window: 1.2 seconds after the second slash
- What you can fit: One light R1, one charged R2 if you dodge early
How to dodge: Roll towards him between the two slashes, not away. Rolling away gets you caught by the second slash's hitbox extension. If you roll correctly, you end up right behind him for the punish.
2. Gravity Pull Into Slam
- Damage: 1,200 (slam) + 400 (pull tick damage) → guaranteed one-shot
- Startup: 32 frames (you can see the blue gravity aura 2 frames in)
- Punish Window: 2.1 seconds after the slam lands
- What you can fit: Full 3-hit combo + weapon art if you're fast
How to dodge: When you see the blue aura, start rolling sideways continuously—the pull is constant until he leaps for the slam. Don't roll early—wait until he's mid-leap to roll out of the slam's 15-meter AoE.
Pro Tip: If you're running theQuickstep ash of war, you can cancel the pull entirely with one quickstep. This is a hidden tech most players don't know about.
3. Unblockable Lightning Grab
- Damage: 2,100 (instant kill on 60 Vigor) → heals 2,000 HP if he catches you
- Startup: 12 frames (very fast)
- Punish Window: 1.8 seconds after he misses
- What you can fit: Two R1s + one charged R2
Radahn does this attack when you're within 5 meters of him for more than 2 seconds. He rears back his left hand and glows purple—roll away and to the left to avoid it. His right side is the safe side after he misses.
4. Lightning Arrow Barrage
- Damage: 450 per arrow → 3-4 arrows will kill you
- Startup: 24 frames
- Punish Window: 0.8 seconds after the last arrow lands
- What you can fit: One light R1, don't get greedy
How to dodge: Don't roll through every arrow—just sprint diagonally towards him. The spread is wide enough that you won't get hit if you're moving. Pausing to roll gets you pinned and hit.
5. Corrupted Lightning AoE Blast
- Damage: 1,500 in the center, 700 on the edge
- Startup: 40 frames (he leaps 20 meters into the air)
- Punish Window: 2.4 seconds after the blast goes off
- What you can fit: Full 3-hit combo + fully charged R2
This is one of the best punish windows in the entire fight. When he leaps, just sprint out of the red circle—you have more than enough time. By the time the blast goes off, you're already walking back in to damage him.
6. Ultimate: Gravitational Collapse
- Damage: 3,200 (instant kill regardless of Vigor) if you're caught in the center
- Startup: 12 seconds total from start to detonation
- Punish Window: 2.8 seconds after detonation this is the biggest punish window in the fight
- What you can fit: Full combo + Taker's Flames weapon art + a charged R2 = ~35% of his Phase 2 HP if you're running Blasphemous Blade
Okay, this is the make-or-break attack for this entire boss fight. Here's the exact step-by-step to avoid it and punish correctly:
- When you see the arena start pulling you toward the center and Radahn glows bright blue, immediately start sprinting toward the nearest edge of the arena. Don't roll—just hold sprint, you move faster than the pull drags you in.
- At the 8-second mark, when the gravity gets stronger and you start bouncing, jump once. This resets your momentum and keeps you from getting pulled in too far.
- When the detonation happens (12-second mark), roll toward Radahn—the shockwave expands outward, so rolling in reduces the hitbox you have to dodge.
- Once the smoke clears, he's stunned for 2.8 full seconds. Unload everything you have here. This is where you carry the DPS check.
Fire's Deadly Sin incantation, pop it right before detonation. It will tick damage the entire st