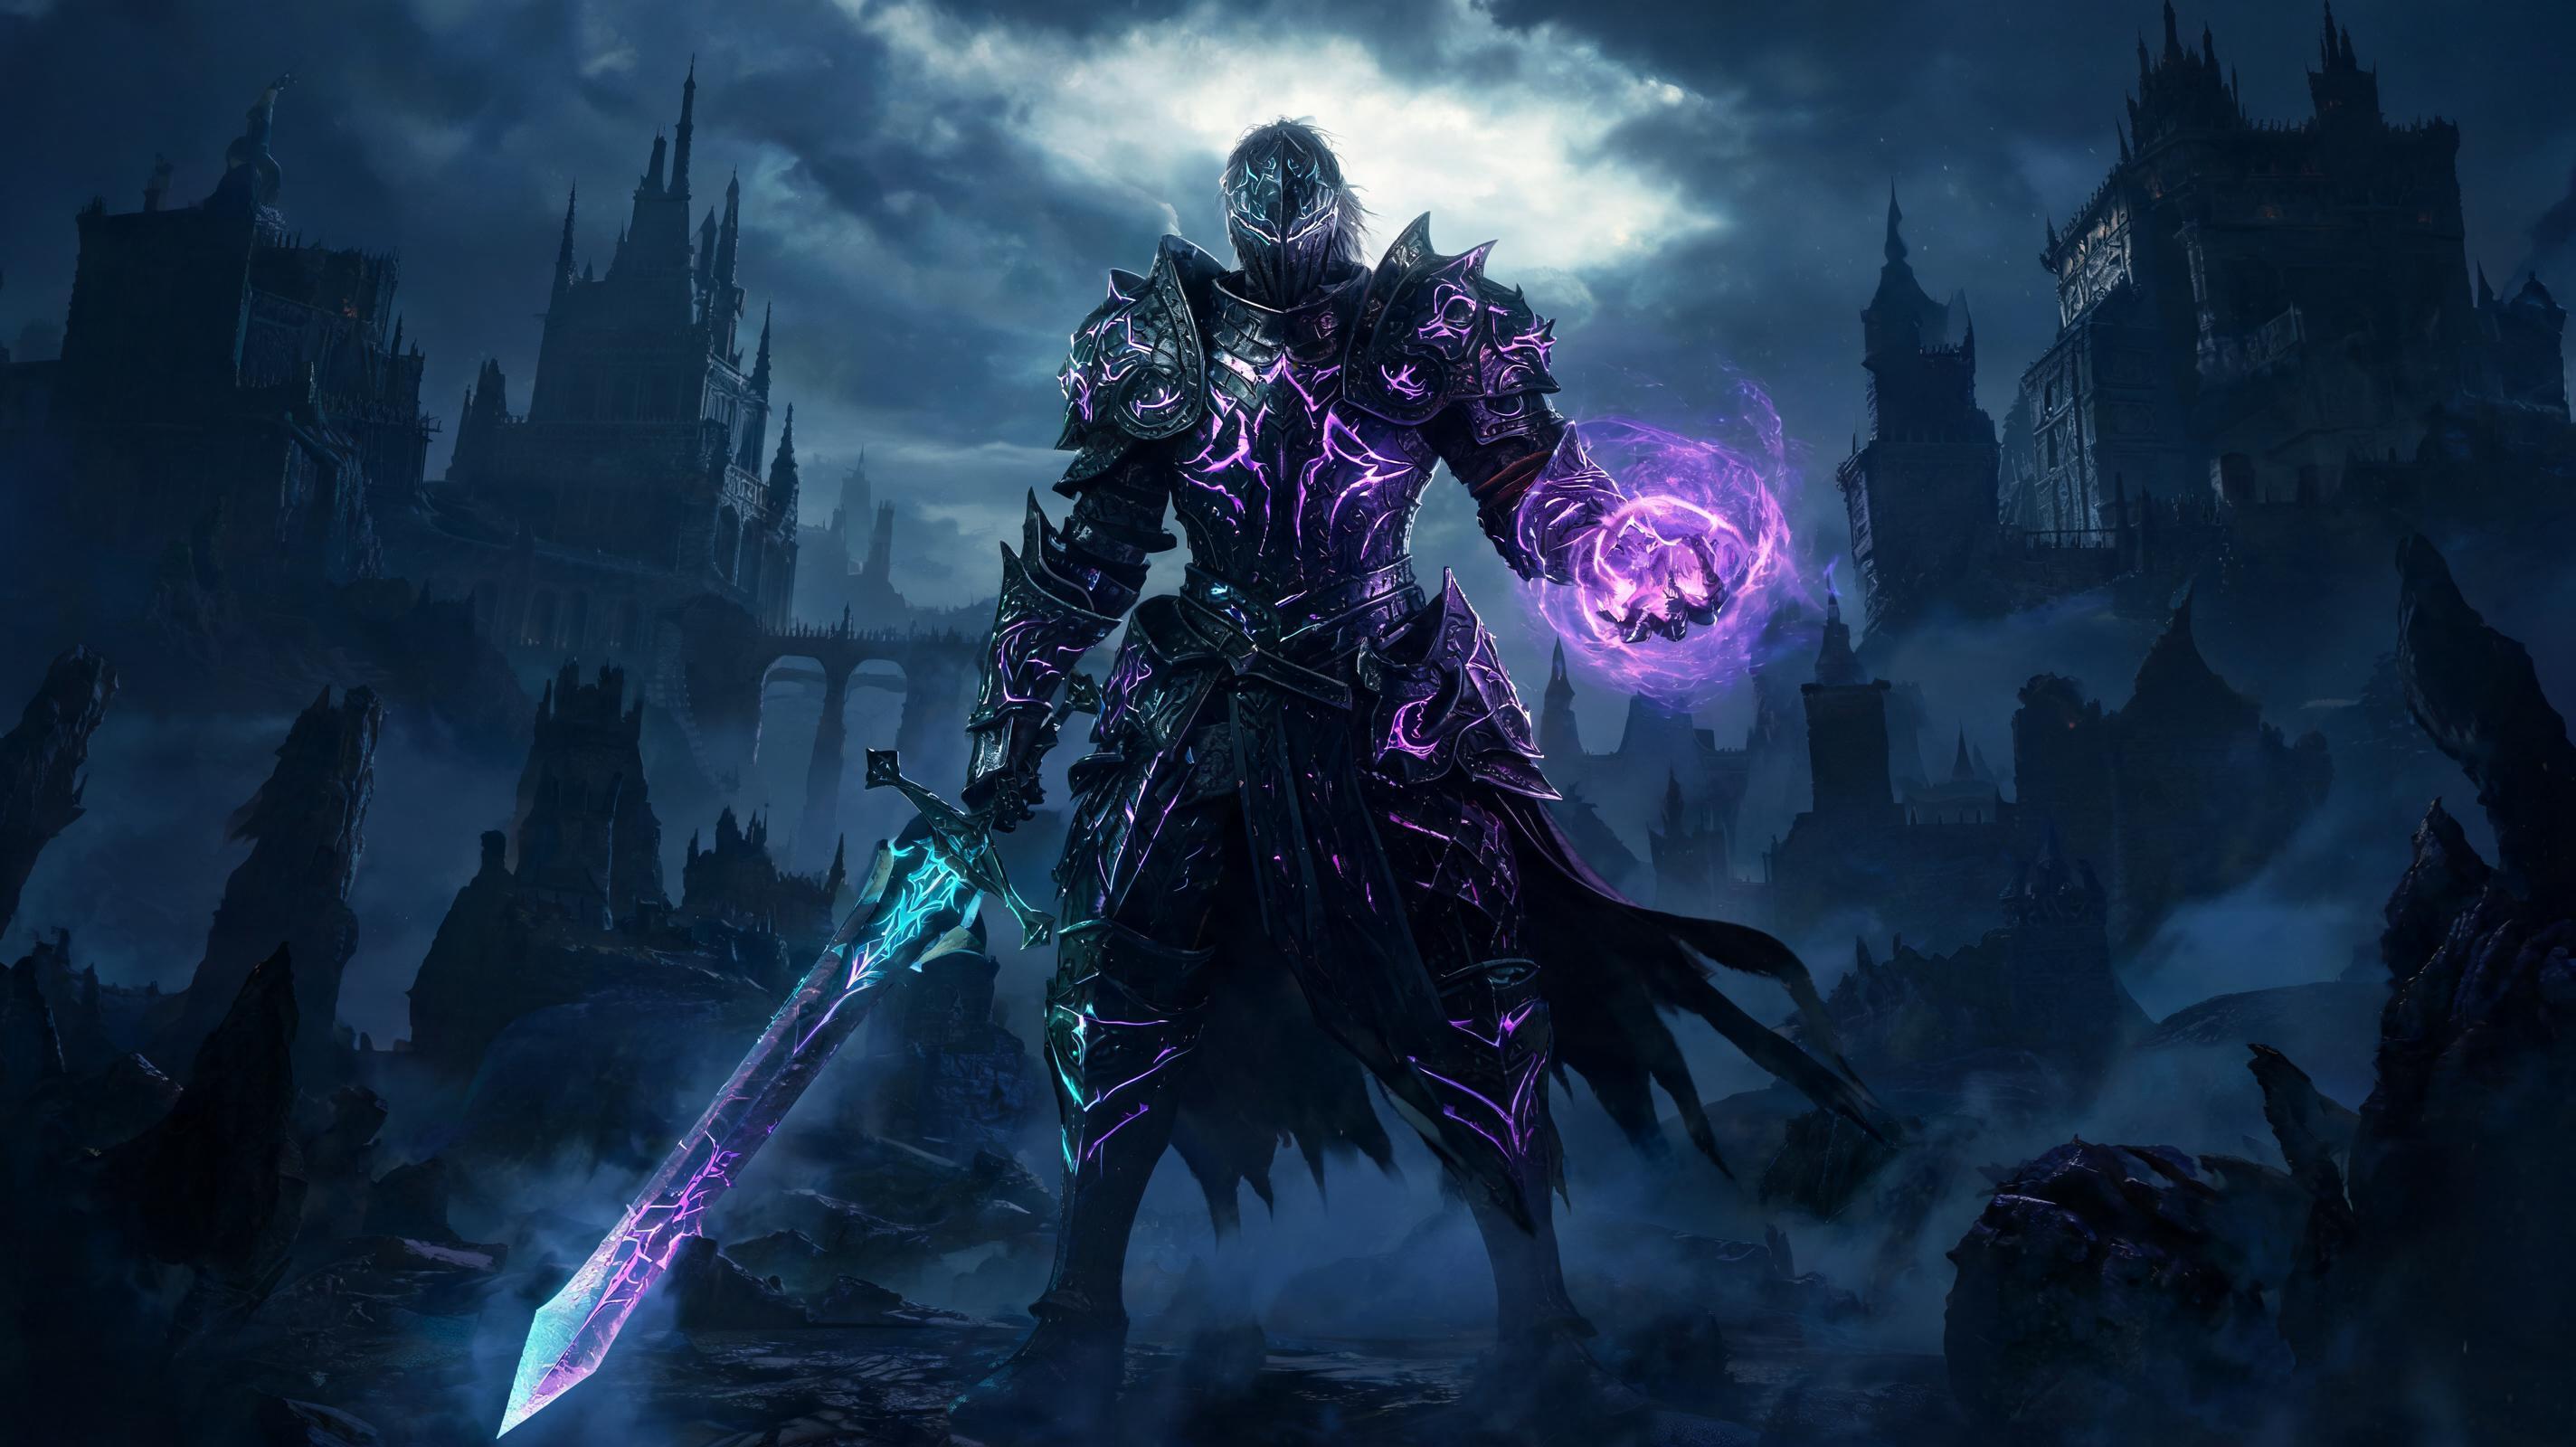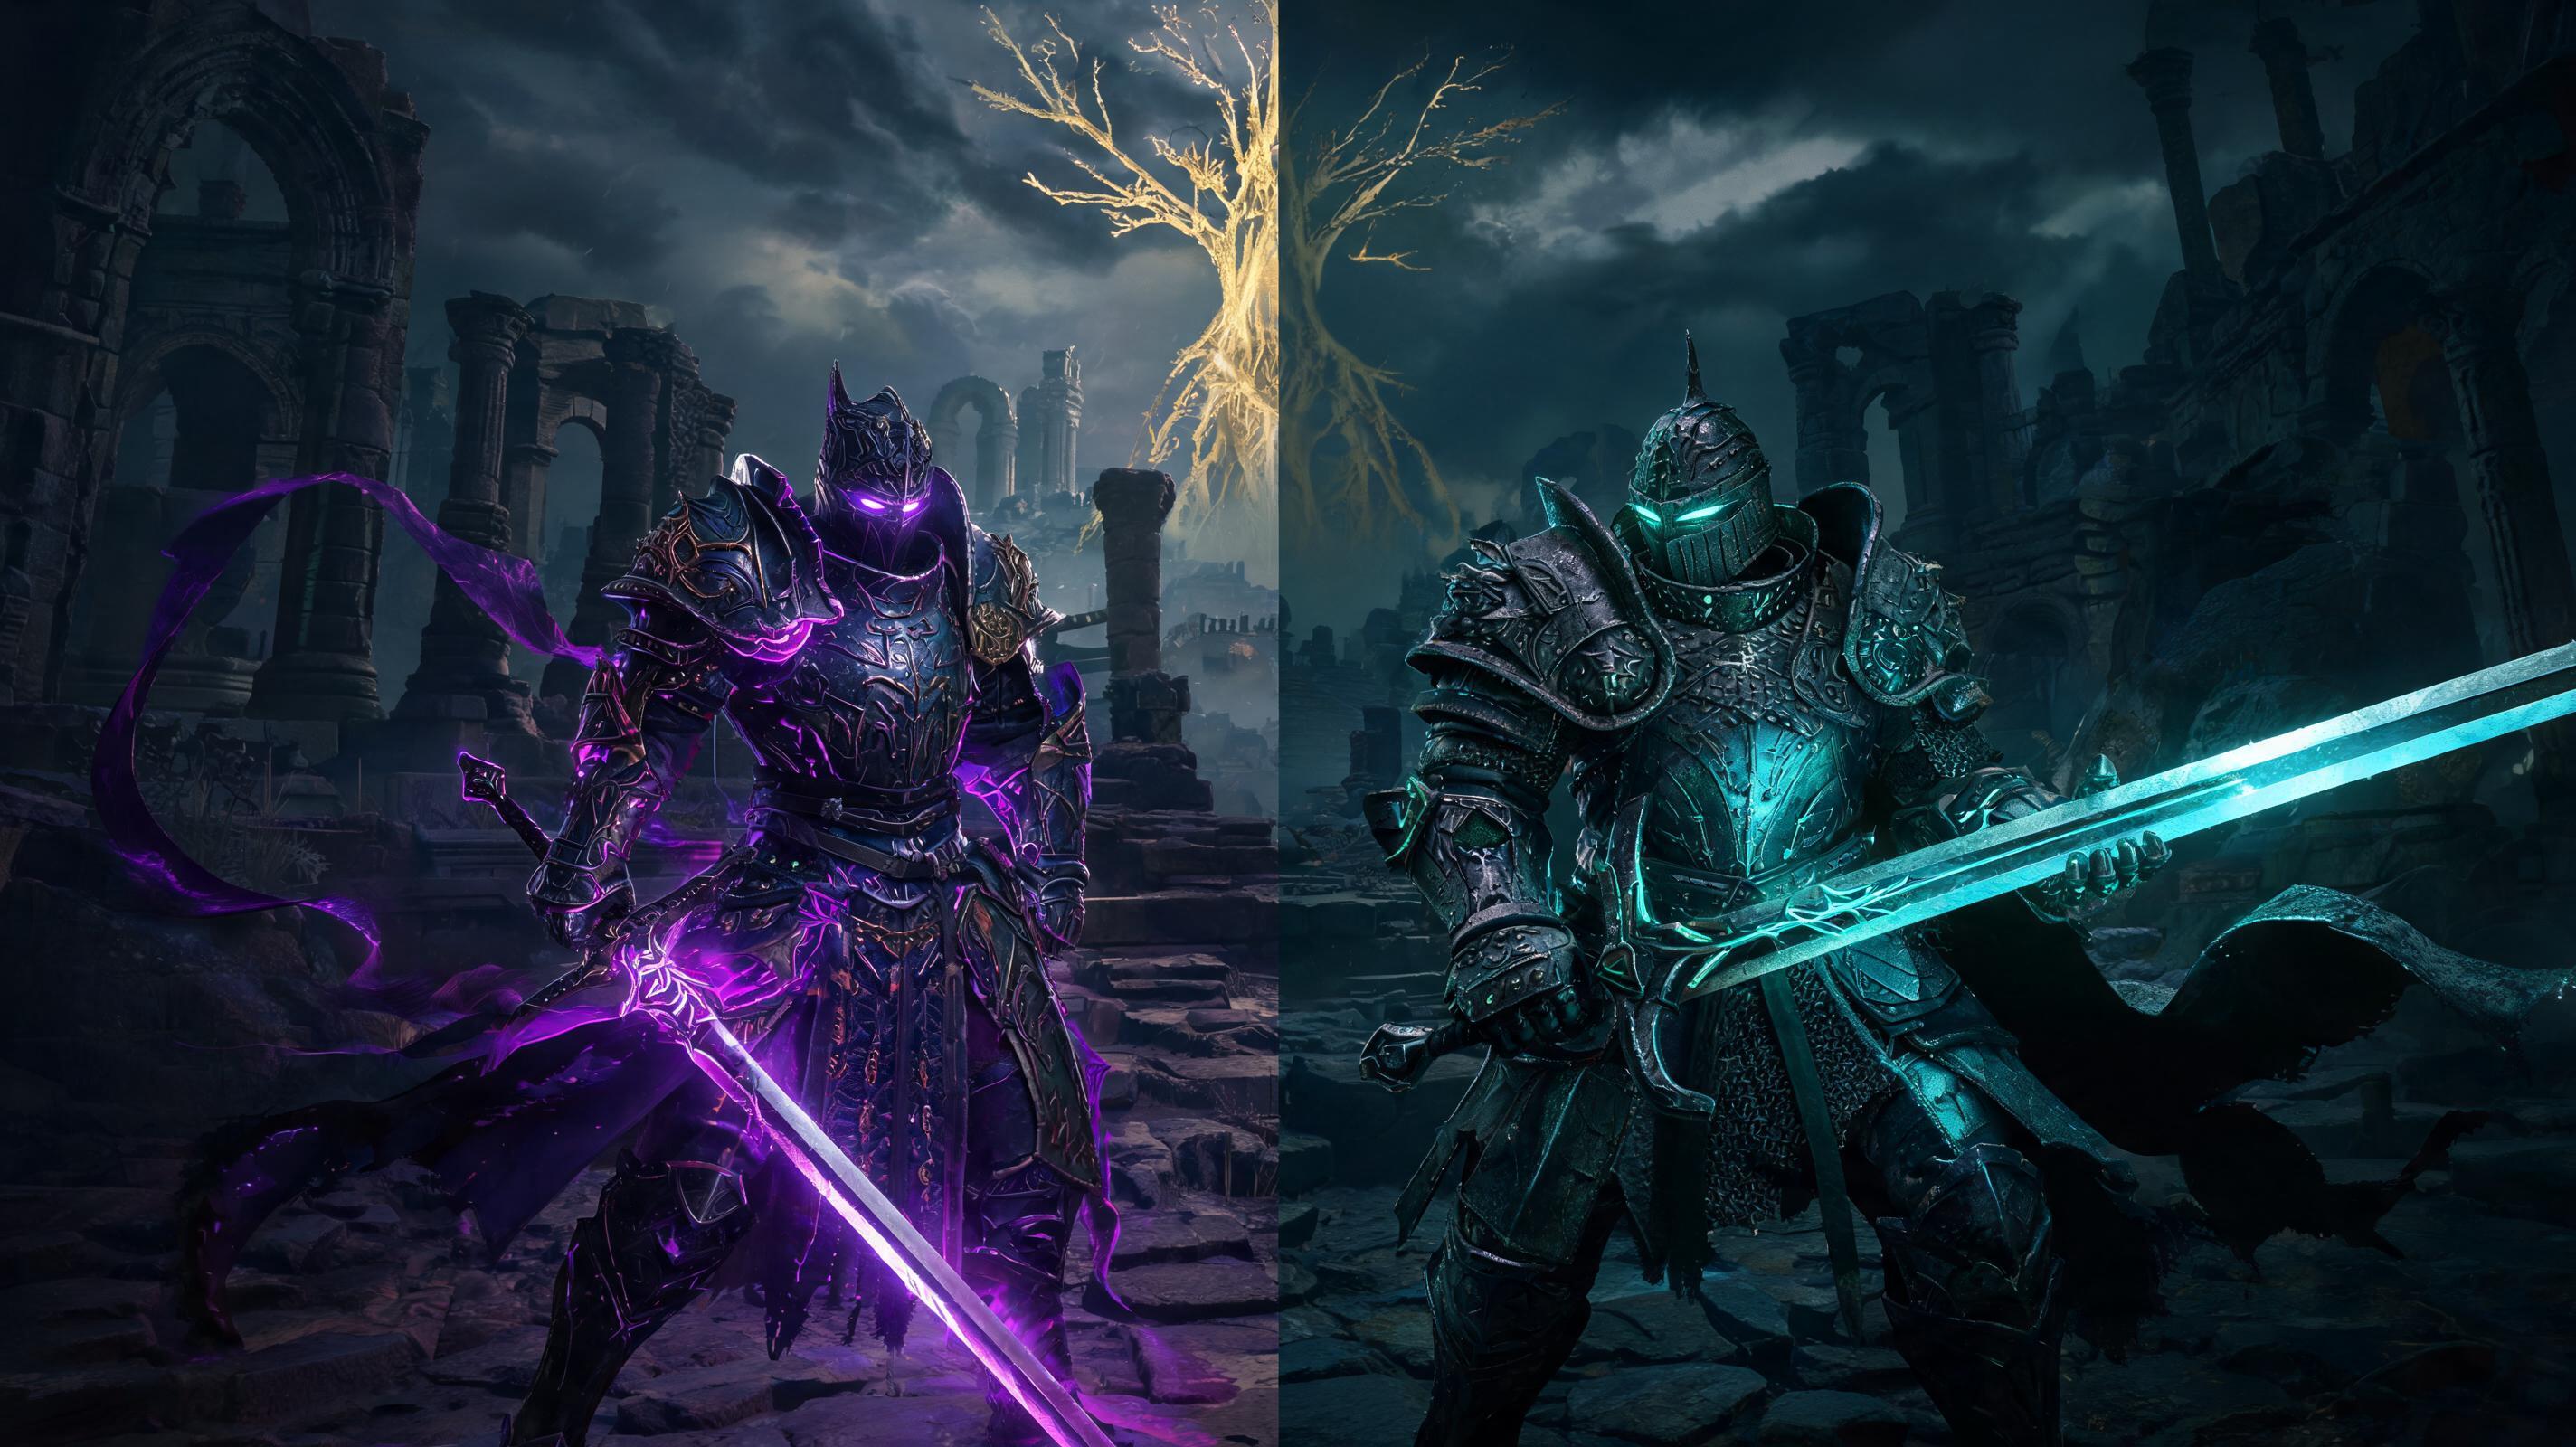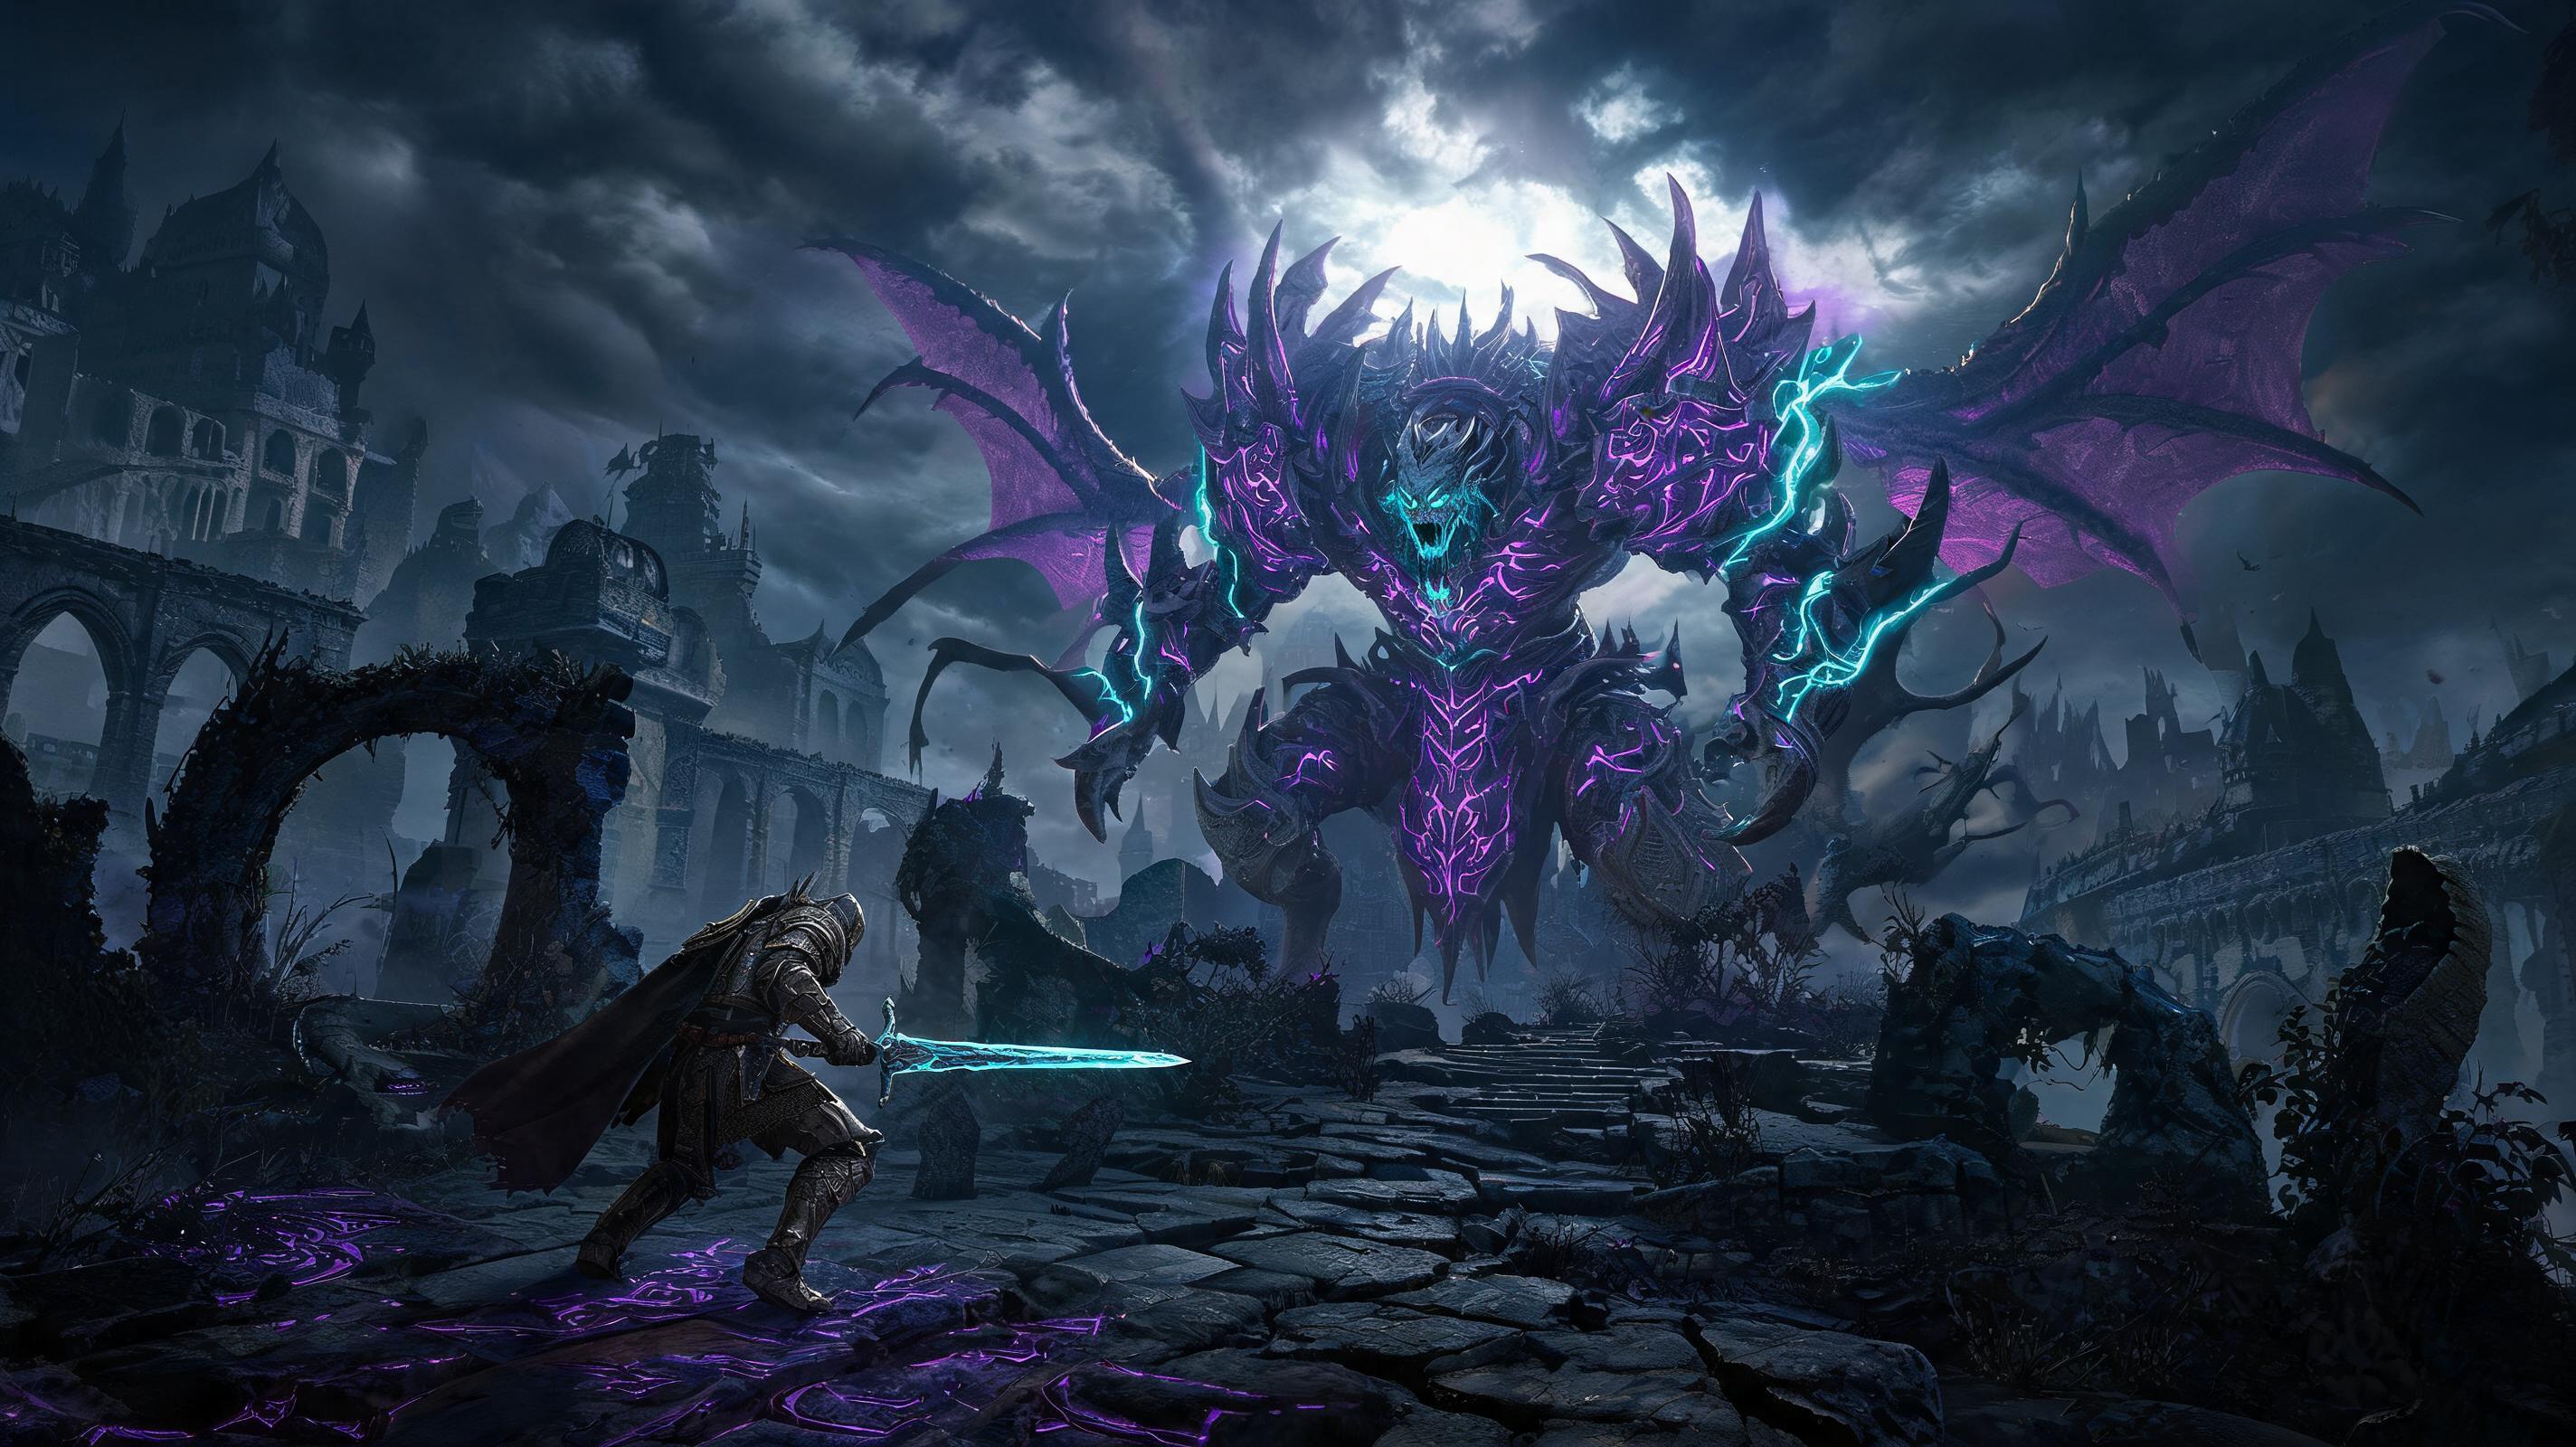
How to Beat Every Main Boss in Elden Ring (2026 Beginner to Advanced Guide)
\nIf you're reading this, you're probably stuck on one of Elden Ring's 100+ bosses and need a boss strategy that actually works for your playstyle, whether you're a first-time FromSoft beginner or a 1000-hour player going for a all-bosses run. This complete guide breaks down the 8 hardest mandatory main path bosses (Margit, Godrick, Rennala, Radahn, Rykard, Morgott, Malenia, Radagon/Elden Beast) with exact HP values, frame data, attack patterns, and punish windows that still hold up in 2026 after all patches. The core takeaway is this: 90% of players lose to Elden Ring bosses because they overcommit to attacks and miss obvious punish windows, not because the boss is too hard. We'll fix that.
\n\nBoss Overview: Key Mechanics Every Player Needs to Know First
\nBefore we dive into individual boss breakdowns, let's cover the universal Elden Ring boss mechanics that apply to every boss fight in 2026. All bosses in Elden Ring have two core breakpoints: a poise break threshold that staggers them for a critical hit, and a HP threshold that triggers their next phase. The table below lists base and new game plus (NG+) HP values for all 8 main bosses we cover here, so you know exactly how much damage you need to deal:
\n\n| Boss Name | \nBase Game HP | \nNG+ HP | \nPoise Break Threshold | \n
|---|---|---|---|
| Margit, the Fell Omen | \n4,236 | \n11,016 | \n120 | \n
| Godrick the Grafted | \n10,913 | \n28,376 | \n200 | \n
| Rennala, Queen of the Full Moon | \n14,127 (Phase 1: 4,386 add HP) | \n36,730 | \n180 | \n
| Starscourge Radahn | \n31,026 | \n80,668 | \n250 | \n
| Rykard, Lord of Blasphemy | \n22,863 | \n59,444 | \nImmune to stagger | \n
| Morgott, the Omen King | \n26,061 | \n67,759 | \n220 | \n
| Malenia, Blade of Miquella | \n18,400 (Phase 1) / 23,319 (Phase 2) | \n54,240 (P1) / 68,830 (P2) | \n80 (P1) / 100 (P2) | \n
| Radagon of the Golden Order / Elden Beast | \n10,399 (Radagon) / 20,873 (Elden Beast) | \n27,038 (Radagon) / 54,270 (Elden Beast) | \n150 (Radagon) / 120 (Elden Beast) | \n
Next, let's rank the most common weapon and talisman options for all boss fights, so you can pick what works for your build. This 2026 tier list accounts for all post-DLC patch changes, and is sorted by accessibility and DPS for both beginners and advanced players:
\n\n2026 Boss Weapon Tier List
\n| Tier | \nWeapon | \nBuild Type | \nUpgrade Level | \nDPS (vs. Average Boss Poise) | \nJustification | \n
|---|---|---|---|---|---|
| S | \nRivers of Blood Katana | \nDex/Arcane Bleed | \n+10 | \n724 DPS | \nUnmatched chip damage, low stamina cost (18 per weapon art), procs bleed in 2 hits. Still meta after all nerfs. | \n
| S | \nBlasphemous Blade | \nStr/Faith | \n+10 | \n689 DPS | \nBuilt-in lifesteal, high stagger, deletes half of most bosses' health in one weapon art proc. | \n
| S | \nGreatsword of the Black Knife | \nDex/Faith | \n+10 | \n701 DPS | \nMaximum range, %-based health damage, perfect for mobile bosses like Malenia and Elden Beast. | \n
| A | \nStarscourge Greatsword | \nStr/Int | \n+10 | \n642 DPS | \nHigh stagger, but 27 stamina cost per heavy attack makes it unforgiving for beginners. | \n
| A | \nMorgott's Cursed Sword | \nDex/Arcane Bleed | \n+10 | \n668 DPS | \nFaster than Rivers of Blood, but shorter range means you have to position more carefully. | \n
| B | \nMorning Star (Heavy Infusion) | \nStraight Str | \n+25 | \n521 DPS | \nAccessible early, good bleed, but low range and damage falloff endgame. | \n
| C | \nUchigatana (Standard Infusion) | \nPure Dex | \n+25 | \n478 DPS | \nFine early game, outclassed by bleed katanas by mid game. | \n
| D | \nGrafted Dragon | \nStr | \n+10 | \n312 DPS | \nTrash. 32 stamina per attack, zero poise damage, don't even bother. | \n
See also: Best Bleed Build for Elden Ring DLC Bosses (2026)
\n\nRecommended Loadout for All Boss Fights (Beginner & Advanced)
\nThe best way to prepare for any boss fight is to build for survival first, damage second. 90% of one-shots in Elden Ring come from under 40 vigor, not from the boss being unfair. Below are two setups, one for beginners who want an easy time, and one for advanced players going for speedruns or no-hit runs.
\n\nBeginner Recommended Loadout (Base Game)
\n- \n
- Vigor: 40, Mind: 15 (for 2-3 weapon arts), Endurance: 25 (enough for medium roll and 3 consecutive attacks), remaining points split between your damage stats \n
- Armor: Any armor with 40+ physical damage negation that lets you medium roll (medium roll has 12 i-frames, heavy roll only has 8. Never use heavy roll for boss fights) \n
- Talismans: Erdtree's Favor +2 (143 extra HP, 10% extra stamina, best all-around talisman), Green Turtle Talisman (8% faster stamina recovery, eliminates most downtime between punishes), Claw Talisman (15% extra jump attack damage, jump attacks break poise 20% faster), Lord of Blood's Exultation (20% extra damage for 20 seconds when bleed procs, broken for all bleed builds) \n
- Flask Setup: 10 flasks of Crimson Tears, 3 flasks of Cerulean Tears (adjust to 2/11 if you're a caster) \n
Advanced Recommended Loadout (NG+ / All-Bosses Run)
\n- \n
- Vigor: 60, Mind: 20, Endurance: 35, damage stats capped at softcap (Arcane 80, Str 50, Dex 50, Int/Faith 60) \n
- Armor: Light roll setup (less than 30% equip load) for 16 i-frames per roll, 35+ physical negation \n
- Talismans: Radagon's Soreseal (5 extra levels to all core stats, only worth it if you have 60+ vigor to absorb the extra damage taken), Green Turtle Talisman, Lord of Blood's Exultation, Shard of Alexander (15% extra weapon art damage, mandatory for all build that rely on weapon arts) \n
- Flask Setup: 12 Crimson, 6 Cerulean (adjust based on build) \n
Phase-by-Phase Breakdown & Attack Pattern Analysis: Top 8 Hardest Main Path Bosses
\nWe're covering the 8 bosses that 90% of players get stuck on, with exact phase breakdown, punish windows, and step-by-step strategy for how to defeat them.
\n\n1. Margit, the Fell Omen (Stormveil Castle Gate)
\nMargit is the first real wall for new players, and 60% of beginners quit here because they don't know his punish windows. Base game HP: 4,236, phase trigger at 50% HP (2,118 HP remaining).
\n\nPhase 1 (100% - 50% HP)
\nMargit's Phase 1 only has 4 core attack patterns:
\n- \n
- Three Swing Combo: 1. Left swing, 2. Right swing, 3. Overhead slam. This combo has a 1.2 second recovery window after the overhead slam. Roll toward him through the first two swings, roll away from the slam, then get 2 light attacks or 1 heavy attack in before he recovers. This is his biggest punish window in Phase 1. \n
- Dagger Throw: Margit pulls a dagger and throws it at you from range. The dagger has 112 damage on hit, and a 1.5 second recovery window. If you roll through the dagger, you can get a full weapon art off before he pulls his cane back. This is a free 1,000+ damage if you capitalize. \n
- Leaping Slam: Margit jumps 10 feet and slams his cane down. This has 287 damage, and a 0.8 second recovery window. Only punish with one light attack here, don't overcommit. \n
- Cane Spin: Rare spin attack that hits in a 360 radius around him. Just back up, no punish available. \n
Phase 2 (50% - 0% HP)
\nAfter hitting 2,118 HP, Margit pulls out a giant hammer and adds two new attacks:
\n- \n
- Hammer Smash Combo: Two consecutive hammer smashes, followed by a third overhead swing. The third swing has a 1.0 second recovery window. Roll through the first two smashes, avoid the third by rolling away, then get two light attacks in. \n
- Full Combo Transition: After any hammer attack, Margit will often chain into his original three swing cane combo. Same punish window applies after the final overhead slam. \n
Punish Window Summary Margit: 1.2s after three swing combo, 1.5s after dagger throw, 0.8s after leaping slam, 1.0s after hammer smash combo. Any hit that connects in these windows is free damage.
\nHow to Defeat Margit Step-by-Step:
\n- \n
- Pull him to the open area near the gate, avoid the pillars that block your rolls. \n
- Wait for him to attack first, never start with a combo (beginners always do this and get stunned to death). \n
- Punish every dagger throw with a weapon art, this will chunk his HP before Phase 2 even starts. \n
- After Phase 2, keep spacing, only punish when he finishes a combo, don't get greedy. \n
2. Godrick the Grafted (Stormveil Castle Throne Room)
\nGodrick is the first shardbearer, HP 10,913 base game, phase trigger at 60% HP (6,548 HP remaining). He's weak to fire damage, and has a 200 poise break threshold, so jump attacks will stagger him easily.
\n\nPhase 1 (100% - 60% HP)
\nCore attack patterns and punish windows:
\n- \n
- Four Swing Axe Combo: Four consecutive horizontal swipes, ends with an overhead slam. 1.1 second recovery after the slam. Roll through each swing toward him, then punish with 2 light attacks or one jump attack. \n
- Ground Slam AoE: Godrick slams his axe into the ground and creates a 15-foot fire AoE. This attack has 2.0 second recovery after the AoE explodes. Roll away from the explosion, then get a full weapon art off. This is his biggest free punish window. \n
- Grapple Attack: Godrick lunges forward to grab you, deals 80% of your max HP if it connects. 0.5 second recovery if