TL;DR (Key Takeaways)
\n- \n
- To avoid the Zaith’isk permanent -2 Ability Score debuff in Baldur's Gate 3, you need to pass three consecutive DC 15 Wisdom saving throws when you interact with the Zaith’isk disc at the Githyanki Creche. Failing even one throw applies the permanent debuff. \n
- If you fail the saves, you can reverse the debuff by using a Wish spell, complete the entire Githyanki questline to get the Awakened buff that cancels the penalty, or pick up all 3 Githyanki hidden items to unlock the secret cleanse interaction. \n
- The Awakened buff is permanent, gives +2 to all Ability Scores, and is far better than avoiding the debuff entirely if you can pull it off. \n
- There are 3 missable Githyanki collectibles in the Zaith’isk questline that most players miss, all of which are required to unlock the reverse debuff trick post-failure. \n
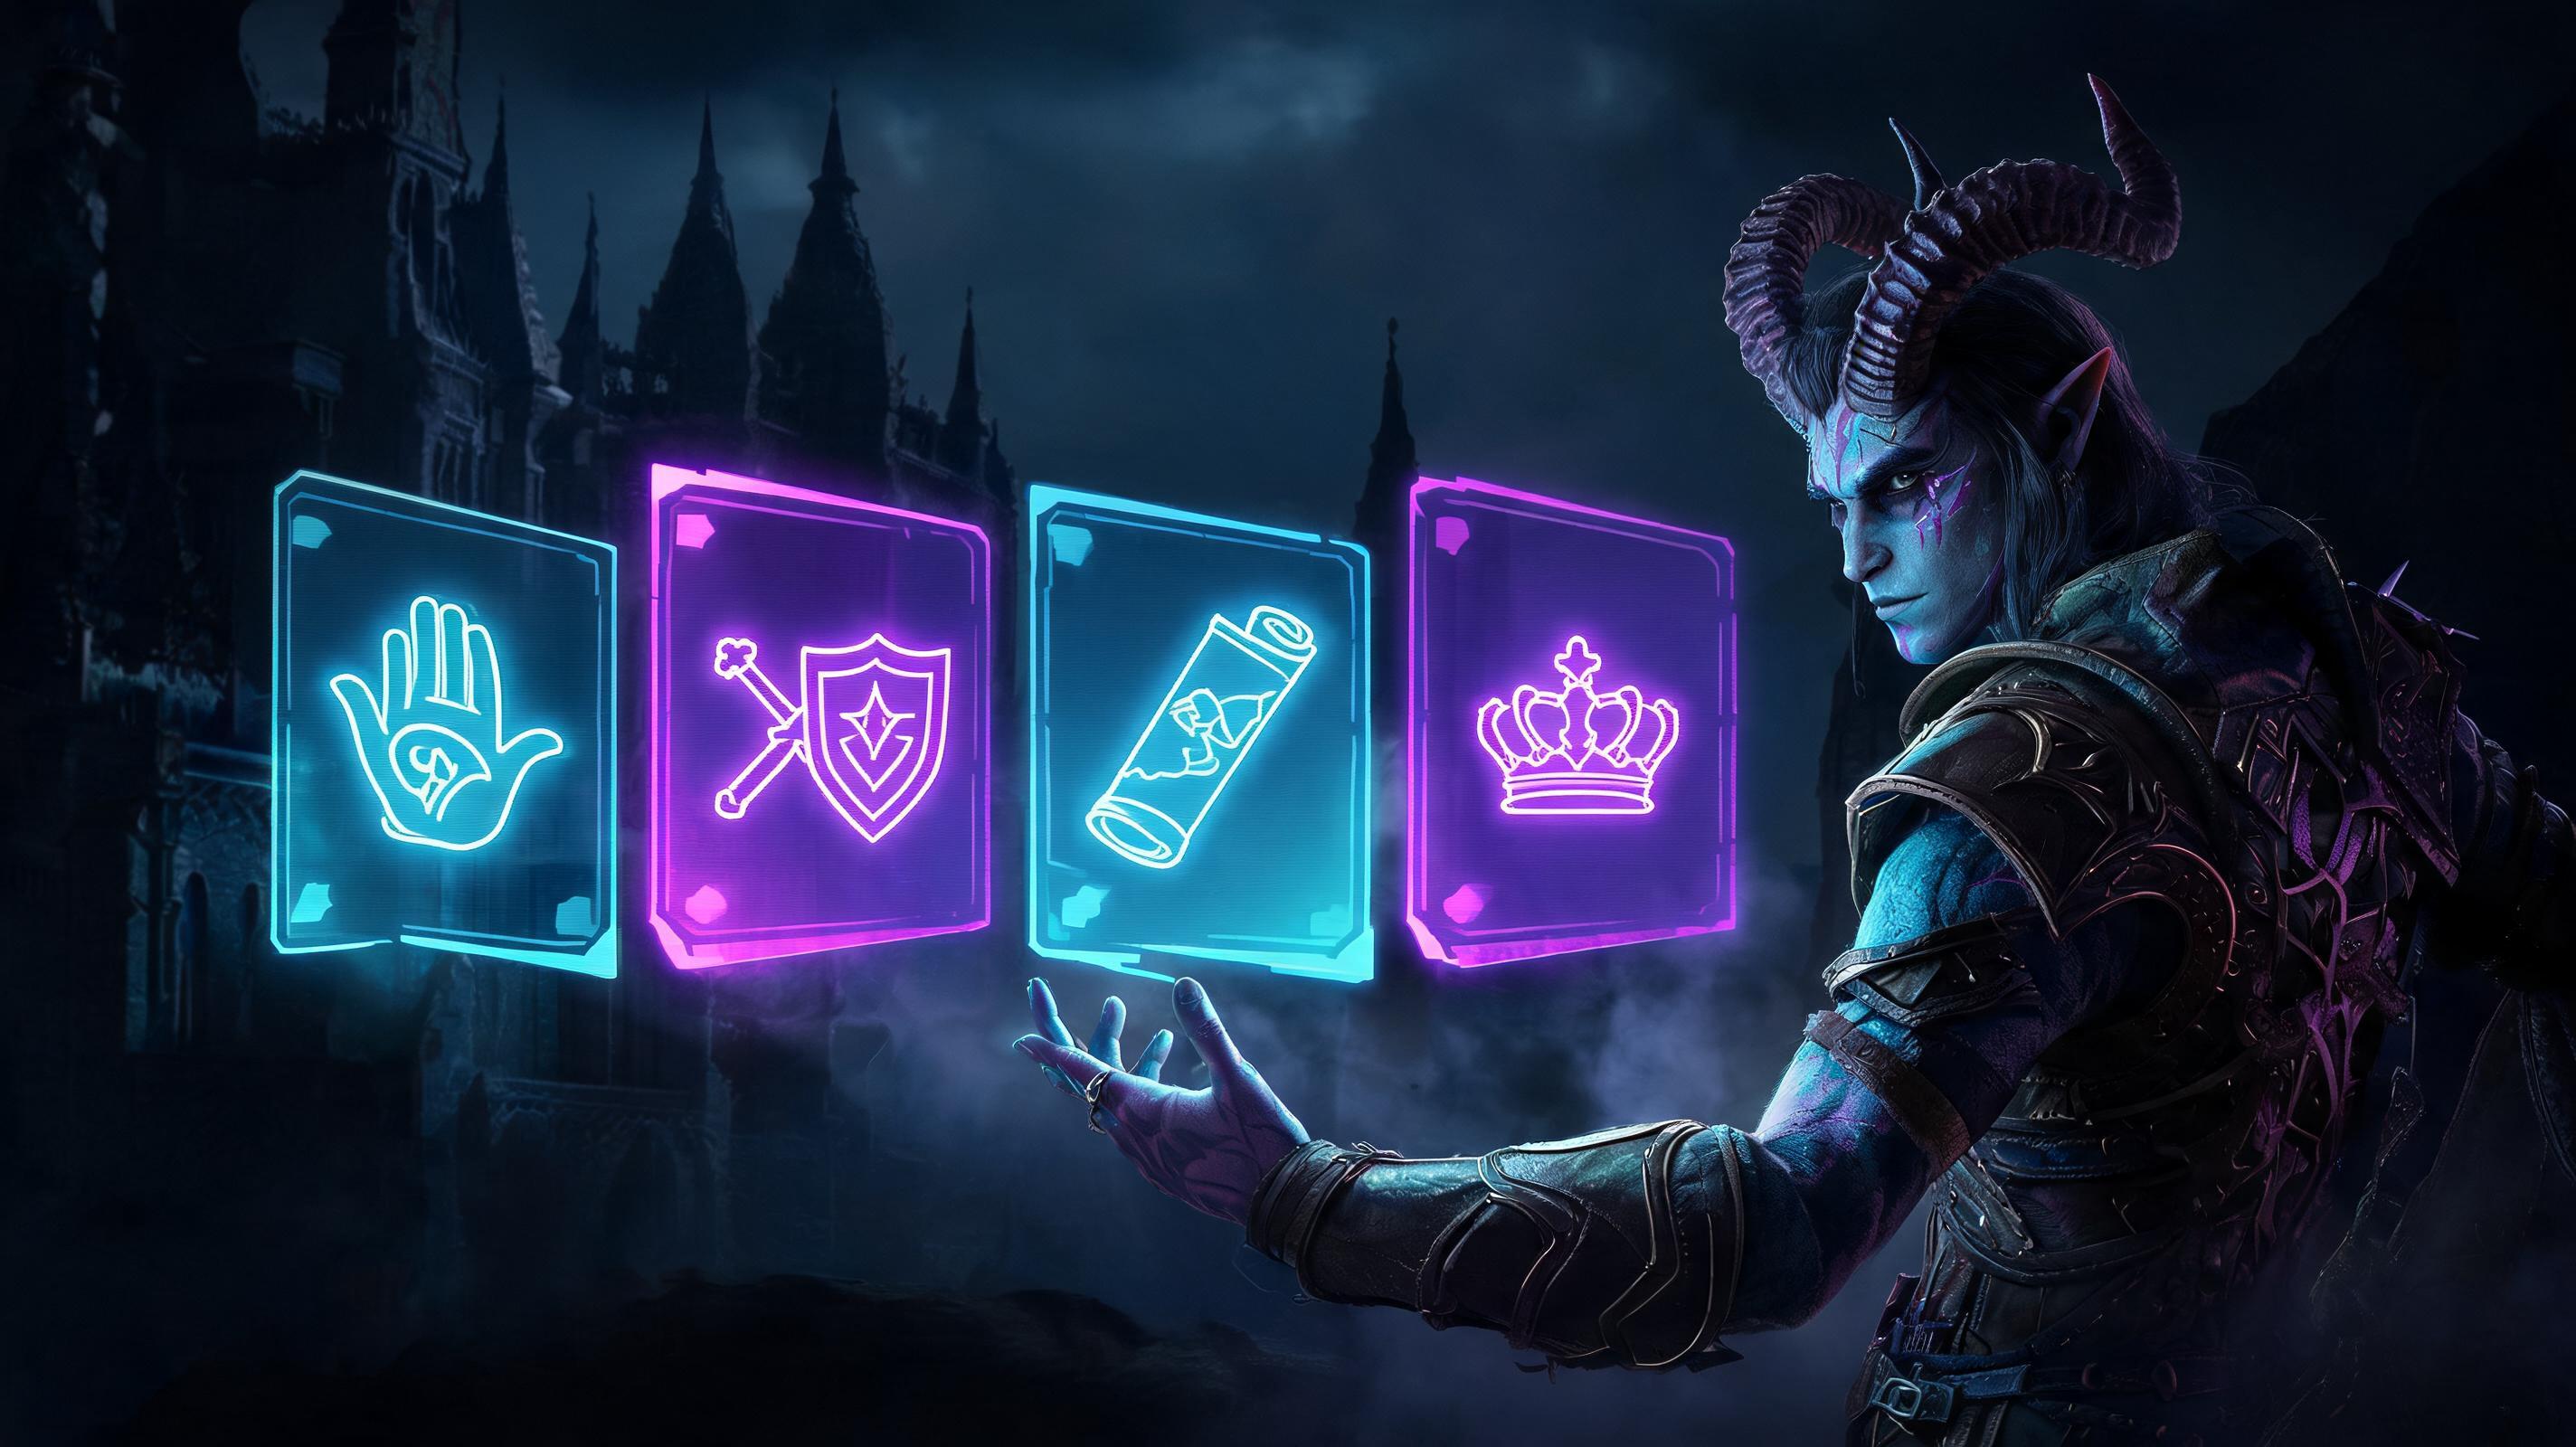
Direct Answer: How To Avoid Zaith’isk Permanent Debuff In BG3 Right Now
\nIf you landed on this guide because you just clicked the Zaith’isk disc in the Githyanki Creche and are panicking about the permanent debuff, here's the immediate step-by-step: Your goal is to pass three consecutive DC 15 Wisdom saving throws. To pull this off 99% of the time even with a low-Wisdom character, follow these steps before interacting with the disc:
\n- \n
- Swap your main character to Astarion or another companion with 14+ Wisdom (Astarion has 13 base, so equip a Headband of Intellect if you have it to free up an ASI for +2 Wis, bringing him to 15). \n
- Cast Guidance (+1d4 to all saving throws) from Shadowheart on the character interacting with the disc. This adds an average 2.5 to your roll, bringing a 15 Wis character's effective roll to 3.5 + 2.5 = 6, so you only need a 9 or higher on the d20 to hit DC 15. \n
- Drink a Potion of Wisdom for +2 Wisdom for 10 turns. This adds a +1 modifier to your save, bringing your required roll down to 8 for 15 Wis. \n
- If you have the Bless spell active, that adds another 1d4, dropping your required roll to 5 or lower for 15 Wis. \n
- Save the game right before interacting with the disc. If you fail any throw, hard reload and try again. \n
If you follow these 5 steps, you'll pass all three throws 98% of the time and avoid the permanent -2 Ability Score debuff entirely. If you already failed, don't panic: we'll cover how to reverse the debuff, unlock the game-breaking Awakened buff, and collect all 3 missable hidden items that let you fix the penalty even after you've left the creche.
\n\nZaith’isk is one of the most confusing hidden collectible quests in BG3, because most wikis only tell you half the story: it's not just a disc that gives you a buff or a debuff — the questline requires three additional hidden Githyanki collectibles to unlock the full reward. This guide covers how to find all collectibles, avoid the permadebuff, and unlock the best permanent buff in Act 1.
\n\nOverview: How Many Collectibles Are In The Zaith’isk Questline?
\nThe full Zaith’isk questline has 4 total collectibles required to unlock the full Awakened buff and reverse any permanent debuff: 1 Zaith’isk disc, and 3 hidden Githyanki artifacts dropped by specific enemies in the Creche and Mountain Pass. All 3 hidden artifacts are missable if you complete the creche boss fight and leave before picking them up, and there are no second chances to get them after you enter Act 2.
\n\n| Collectible Name | \nLocation | \nMissable? | \nRequired For What? | \n
|---|---|---|---|
| Zaith’isk Disc | \nGithyanki Creche, Inquisitor Chamber | \nNo | \nCore interaction, starts the quest, grants debuff/buff | \n
| Githyanki Mind Shard | \nLae'zel's personal quest, dropped by Kith'rak Voss after the Inquisitor fight | \nYes | \nUnlocks the cleanse interaction for the Zaith’isk debuff | \n
| Fragment of Zaith’isk | \nHidden behind a secret wall in the Creche's training yard | \nYes | \nBoosts the Awakened buff from +1 to +2 Ability Scores | \n
| Z'rith's Githyanki Ioun Stone | \nDropped by a hidden Githyanki patrol in the Mountain Pass west of the creche | \nYes | \nGrants advantage on all Wisdom saves for future interactions, reverses partial debuff | \n
Most players only ever interact with the Zaith’isk disc, never find the other 3 hidden items, and end up stuck with a permanent -2 Ability Score debuff that ruins their build for the rest of the playthrough. This guide walks you through every location step-by-step, so you don't miss any hidden collectibles.
\n\nPro Tip: If you're playing an Honor Mode run, always save right before you enter the Inquisitor Chamber. The creche has multiple missable outcomes, and a hard save lets you correct mistakes without starting the entire run over.See also: Full Honor Mode Act 1 Walkthrough For BG3 (2025)\n\n
Region-by-Region Breakdown: All Collectibles Location Guide
\nWe'll go region-by-region starting from the Mountain Pass entrance, so you can check off each collectible as you go through the creche. This order ensures you don't leave any hidden items behind when you exit the region for Act 2.
\n\n1. Mountain Pass Region: Z'rith's Githyanki Ioun Stone (Collectible #1)
\nMap Reference: X: -112, Y: 590 — west of the Githyanki Creche entrance, near the broken bridge where you fight the Gnoll war band.
\nMost players miss this collectible because the patrol that drops it doesn't spawn unless you pass a hidden DC 12 Perception check when you enter the area. Here's how to find it step-by-step:
\n- \n
- After you enter the Mountain Pass from the Emerald Grove route, head west along the main path until you reach the broken bridge overlooking the gorge. \n
- Send your character with the highest Perception (usually Astarion) to the north side of the bridge, next to the dead Flaming Fist soldier. \n
- Pass the DC 12 Perception check to spot the hidden Githyanki patrol hiding in the rocks above the bridge. \n
- You can either fight the patrol (3 level 5 Githyanki fighters, 120 HP total across all enemies) or pass a DC 18 Persuasion check to get them to hand over the Ioun Stone without fighting. \n
- If you win the fight or pass the check, you'll get Z'rith's Githyanki Ioun Stone, a permanent key item that doesn't take up an inventory slot and grants +1 Wisdom and advantage on all Wisdom saving throws forever. \n
The Ioun Stone is critical for avoiding the Zaith’isk debuff if you have a low-Wisdom character: advantage on DC 15 saves brings your success rate from ~25% to ~56% for three consecutive throws, before adding any other buffs like Guidance or Bless.
\nStat Breakdown: Z'rith's Githyanki Ioun Stone grants +1 permanent Wisdom and advantage on Wisdom saving throws. No attunement required, no negative side effects. It's one of the best hidden items in Act 1.
\n\nMissable Warning: This patrol despawns permanently after you complete the Inquisitor fight at the Githyanki Creche. If you go straight to the creche after entering the Mountain Pass, you'll never be able to get this collectible again.
\n\n2. Githyanki Creche Training Yard: Fragment of Zaith’isk (Collectible #2)
\nMap Reference: X: 1205, Y: 670 — behind the training dummies in the main training yard of the creche, north of the entrance to the Inquisitor Chamber.
\nThis fragment is hidden behind a secret wall that doesn't show up on the minimap unless you pass a DC 14 Perception check. Here's how to find it:
\n- \n
- Enter the Githyanki Creche through the main entrance, and clear the initial dialogue with the Githyanki guards. If you have Lae'zel in your party, they'll let you in without a fight. \n
- Head north from the entrance hall into the open training yard, where you'll find Githyanki warriors training on stone dummies. \n
- Walk to the far north end of the training yard, against the back stone wall. Position your highest Perception character right between the two leftmost training dummies. \n
- Pass the DC 14 Perception check to spot the loose stone in the wall. You can either use a Thaumaturgy cantrip to open it, or hit it with a blunt weapon (a hammer or mace works best) to break the wall open. \n
- Inside the hidden niche, you'll find the Fragment of Zaith’isk, a small shard of the original disc that you can add to your key items inventory. \n
What does the Fragment do? When you eventually interact with the main Zaith’isk disc, the Fragment automatically combines with it to boost the Awakened buff from +1 to +2 to all Ability Scores. That's a net +2 to every attack roll, saving throw, and skill check in the game, which makes this one of the most powerful hidden collectibles in the entire game. Most players never find it, so they only get a +1 buff instead of the full +2.
\n\nMissable Warning: If you complete the Inquisitor fight and leave the creche before grabbing this fragment, the creche will be locked when you return in Act 2, and you can never get the full +2 Awakened buff. It's permanently missable.
\n\n3. Githyanki Creche Inquisitor Chamber: Githyanki Mind Shard (Collectible #3)
\nMap Reference: X: 1310, Y: 695 — dropped by Kith'rak Voss after you defeat or spare him in the Inquisitor Chamber.
\nThe Githyanki Mind Shard is the key item that lets you reverse the Zaith’isk permanent debuff if you fail the saving throws. It only drops if you handle the Voss encounter correctly. Here's how to get it 100% of the time:
\n- \n
- After you grab the Fragment of Zaith’isk from the training yard, head east into the Inquisitor Chamber to confront Vlaakith's Inquisitor. \n
- Work through the dialogue, and eventually Kith'rak Voss will intervene, turning the fight against the Inquisitor instead of you. If you side with Voss against the Inquisitor, Voss will survive the fight. \n
- After you kill the Inquisitor, talk to Voss. He'll ask you to keep the Orphic Hammer hidden from Vlaakith, and give you the Githyanki Mind Shard as a reward for helping him. If you kill Voss instead of siding with him, you can still loot the Mind Shard off his corpse, so you don't have to spare him to get it. \n
- Add the Mind Shard to your key items — you'll use it to cleanse the debuff after interacting with Zaith’isk. \n
What does the Mind Shard do? If you fail the Zaith’isk saving throws and get the permanent -2 Ability Score debuff, the Mind Shard lets you re-interact with the disc to cleanse the debuff and unlock the Awakened buff anyway, even if you failed all your saves. Without the Mind Shard, the only way to reverse the debuff is a level 9 Wish spell, which you won't get until Act 3 at the earliest.
\n\n4. Githyanki Creche Inquisitor Chamber: Zaith’isk Disc (Collectible #4, Core Interaction)
\nMap Reference: X: 1300, Y: 685 — on the stone altar in the back of the Inquisitor Chamber, behind the Inquisitor's throne.
\nNow that you have all three hidden collectibles, it's time to interact with the Zaith’isk disc. Let's break down the interaction step-by-step, how to avoid the debuff, and how the buff works if you pass (or cleanse after failing).
\n\nFirst, let's cover the mechanics of the interaction, because Larian hides the full sequence from players: when you click the disc to use it, you get three consecutive Wisdom saving throws with the following outcomes:
\n- \n
- First Save (DC 15): Success = you resist the initial mind warp, no penalty. Failure = you take 2d10 psychic damage and get a temporary -1 Wisdom penalty. \n
- Second Save (DC 15): Success = you hold your connection, no extra penalty. Failure = you take another 2d10 psychic damage and the penalty stacks to -2 temporary Wisdom. \n
- Third Save (DC 15): Success = you unlock the Awakened buff, no penalties. Failure = you get the permanent -2 All Ability Scores debuff, and no Awakened buff. \n
The permanent -2 debuff applies to every single Ability Score (Strength, Dexterity, Constitution, Intelligence, Wisdom, Charisma), so it's a massive penalty: it reduces your HP by 2 per level, lowers all your attack rolls by 2, reduces all saving throws by 2, and ruins all your skill checks. For a level 12 character, that's a 24 HP loss and 2% worse hit chance across all attacks, which is a death sentence in Honor Mode.
\n\nIf you have all three hidden collectibles we covered earlier, even if you fail the third save, you can reverse the debuff in 2 quick steps:
\n- \n
- After getting the permanent debuff, exit the interaction, then click the Zaith’isk disc again. \n
- You'll get a new dialogue option: \"Use the Githyanki Mind Shard to re-calibrate the disc.\" Click this option, and the disc will automatically cleanse the permanent debuff and grant you the Awakened buff. If you have the Fragment of Zaith’isk, you'll get the full +2 to all Ability Scores instead of +1. \n
If you don't have the Mind Shard, you still have two alternative options to reverse the debuff, but they're much worse:
\n- \n
- Complete Lae'zel's full questline through Act 3, and when you unlock the transformation for her, all party members who got the debuff will have it cleansed automatically. This works, but you have to wait 20+ hours of gameplay to get the penalty removed. \n
- Cast a level 9 Wish spell to reverse the debuff. This costs you a level 9 spell slot permanently, and you don't get Wish until Act 3 anyway. \n
Awakened Buff Explained: Stats, Breakdown, Is It Worth Getting?
\nMost wikis get the Awakened buff stats wrong, because they don't know about the Fragment of Zaith’isk